
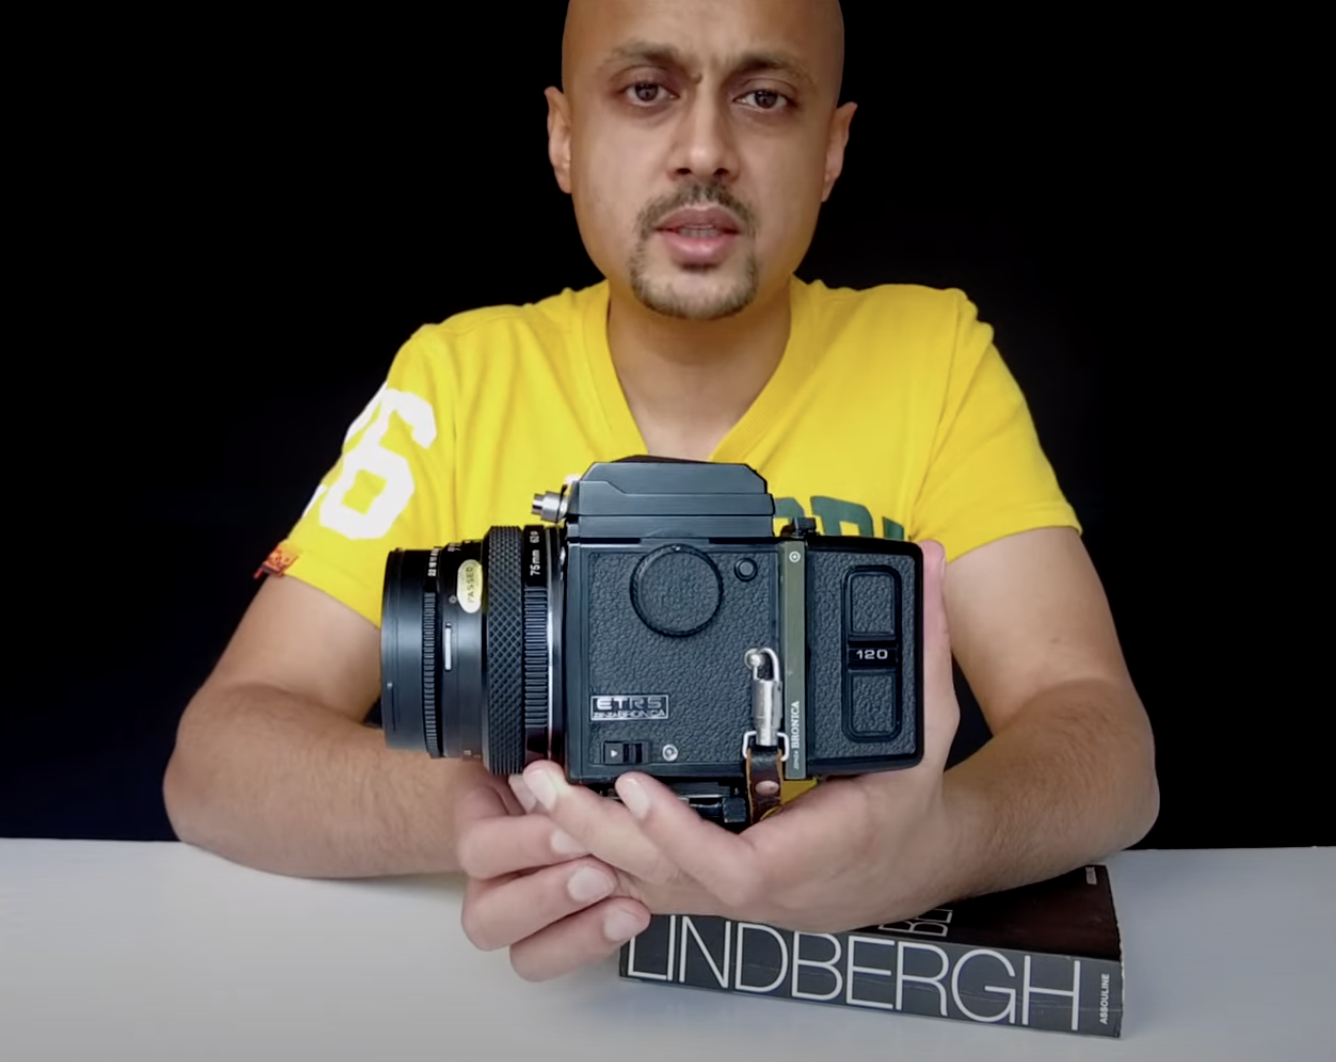
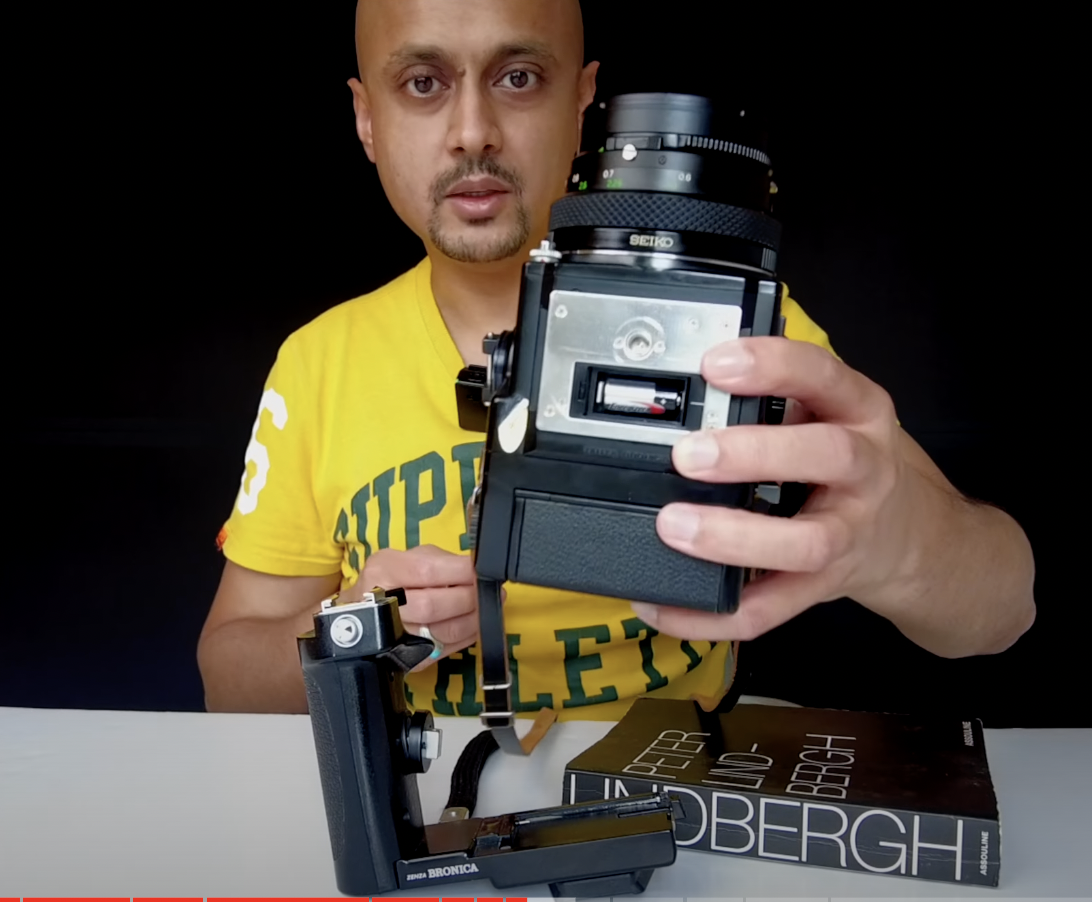
I'm going to show you how to use the Bronica Zenza ETRS medium format camera, which first came out in 1978 and was discontinued about 10, 12 years later.
I'm going to take you through all the different components; the lens through to the view-finders and the film backs. If you are not sure about how to get started with this camera, by the end of this blog or video you will be well on your way!
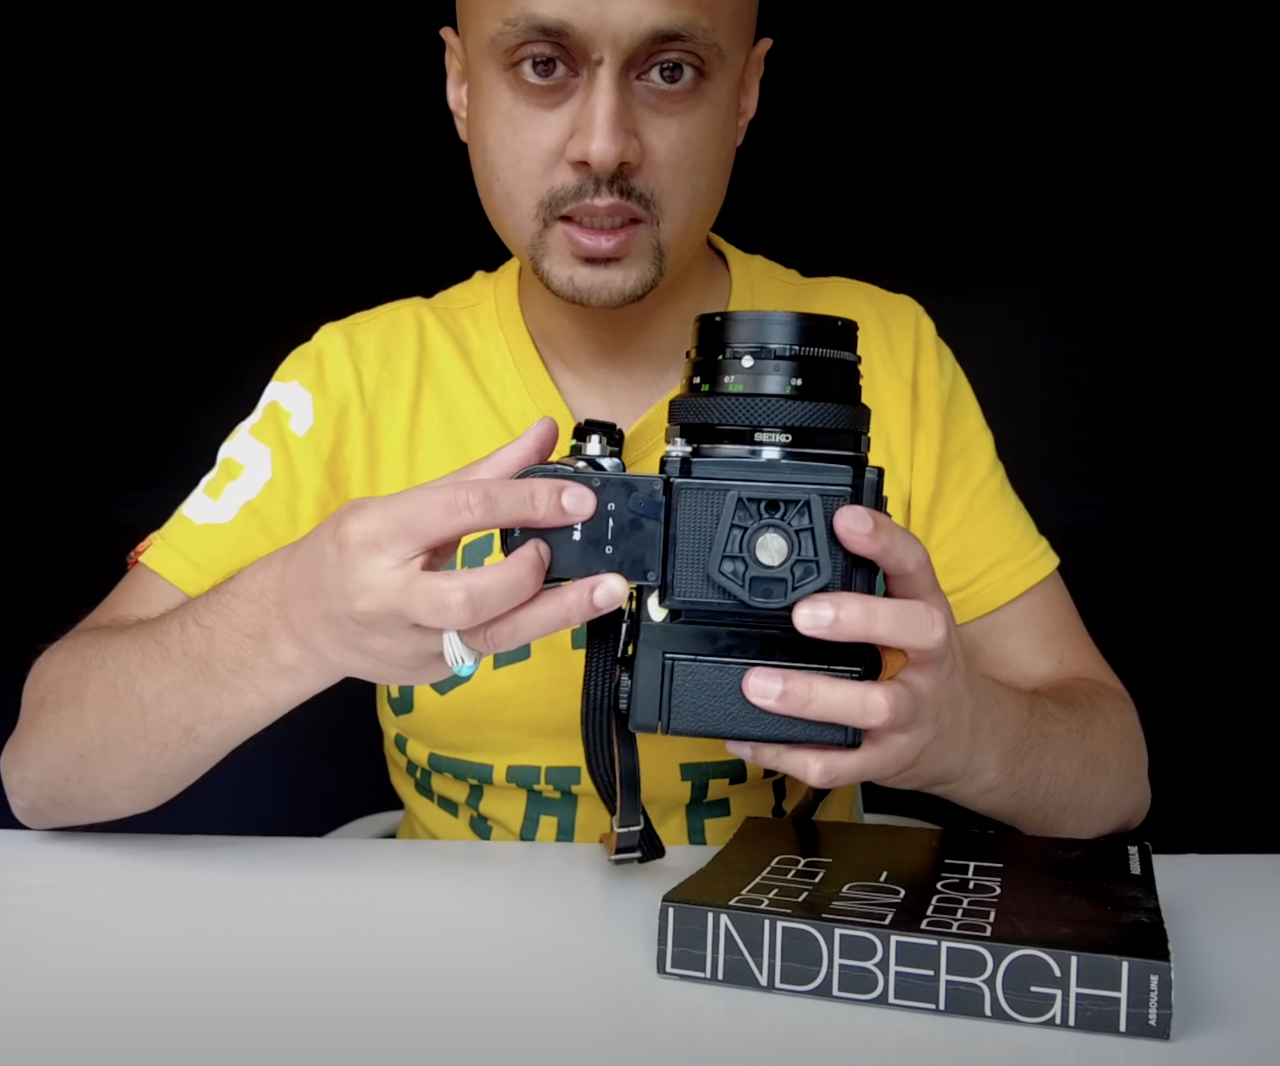
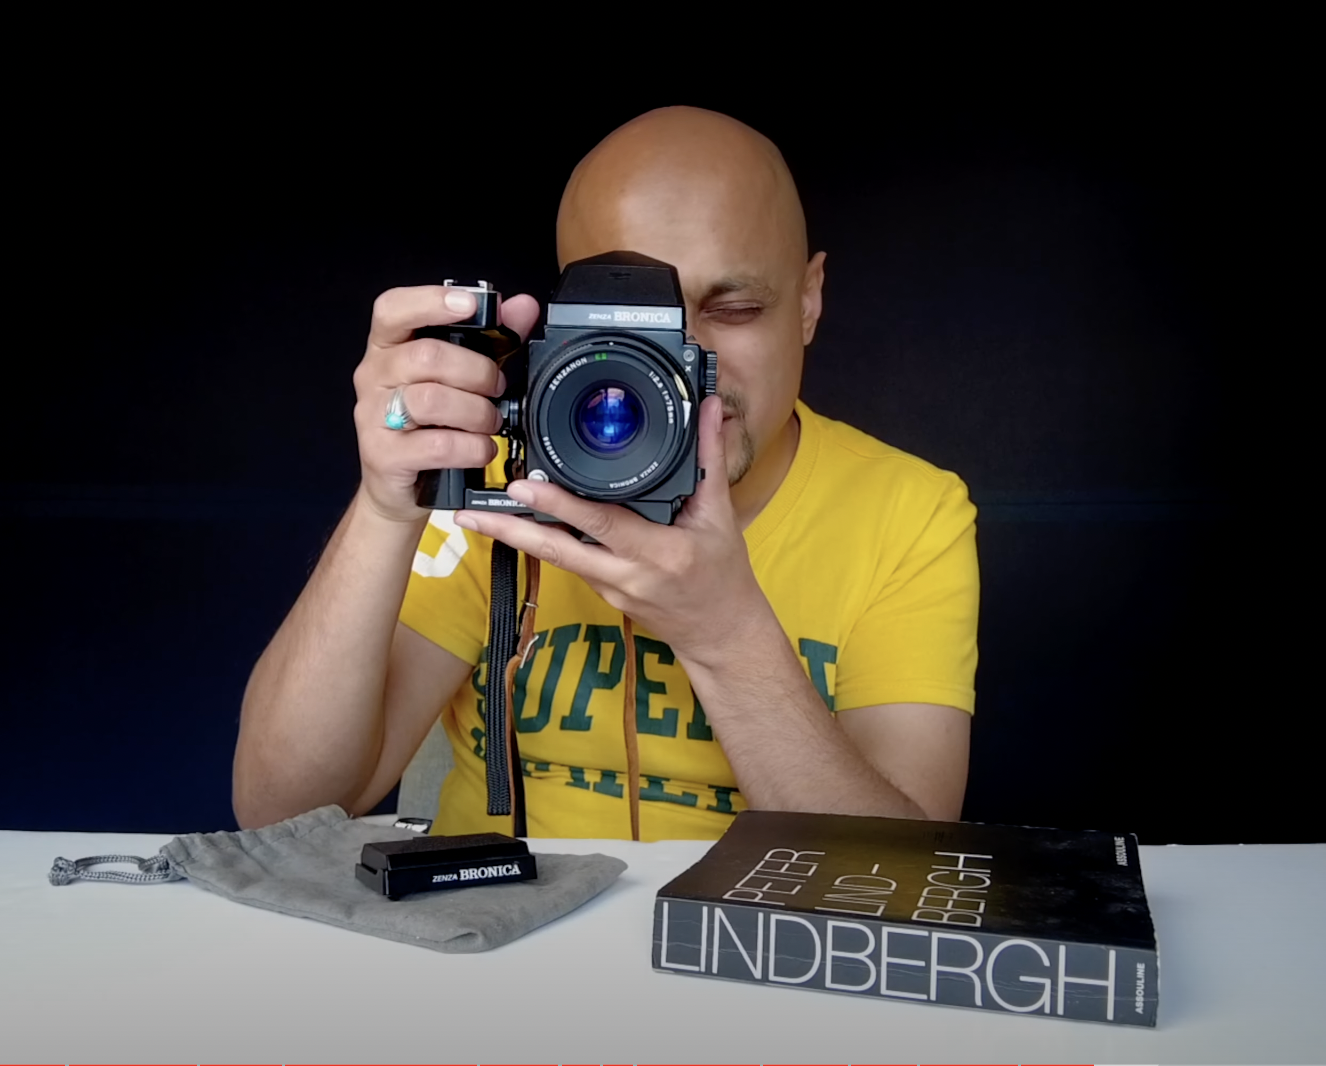
How to Change Bronica Lenses
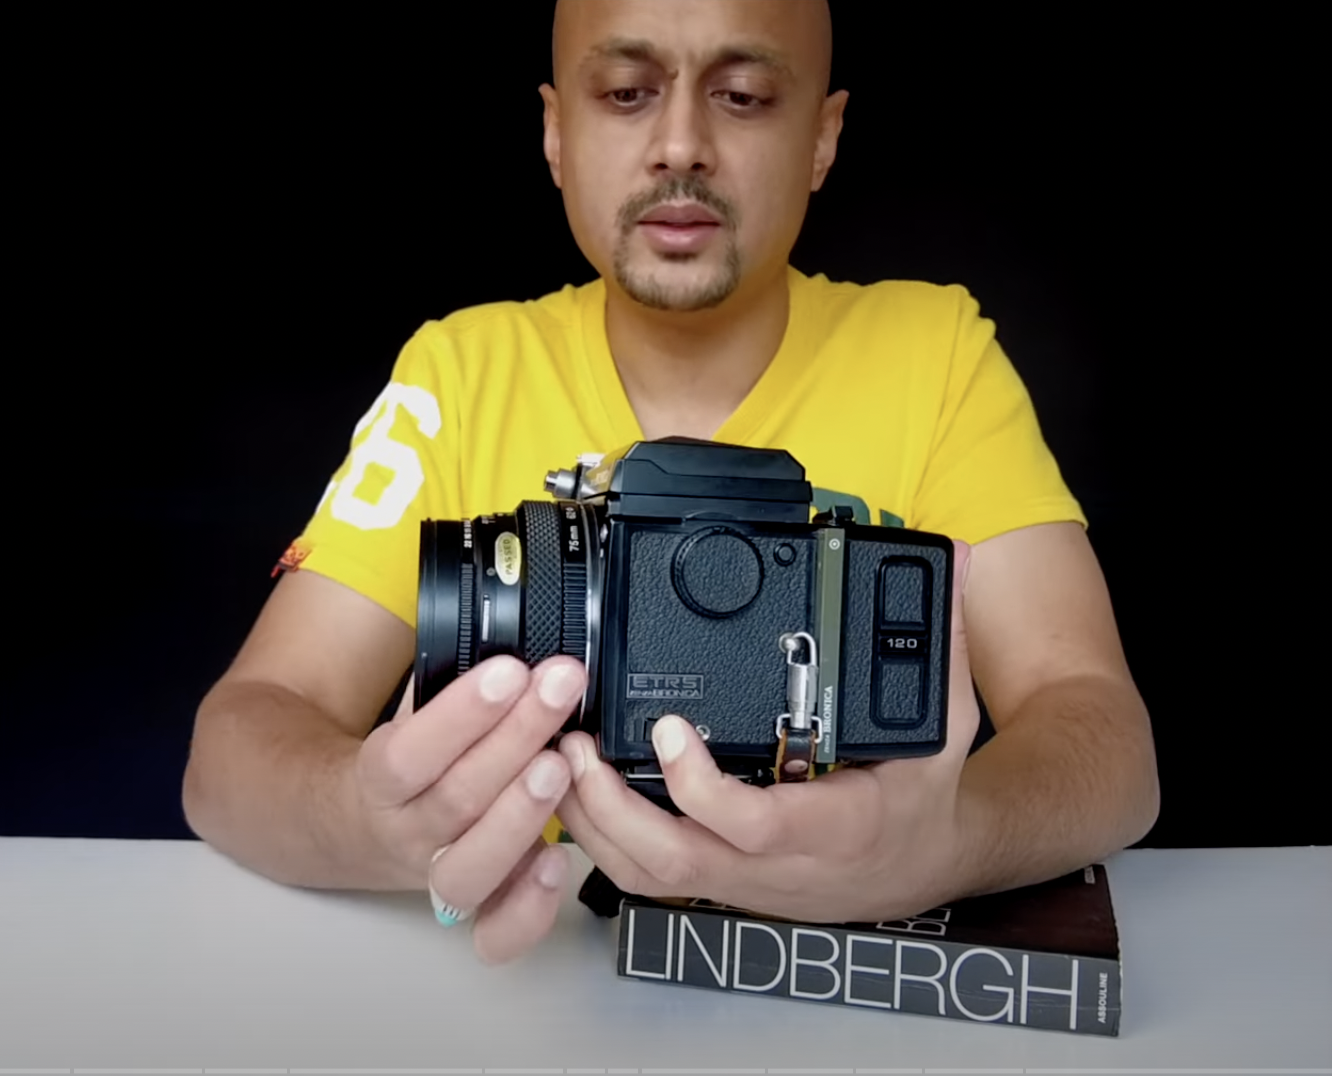

This is a 75mm lens, which is equivalent to 45 mm on a 35 mm camera. It is a little bit wider than a 50mm, although not as narrow as an 85mm. It could be a perfect lens entry, particularly if you enjoy shooting landscapes as well as portraits.
Bronica lenses are detachable therefore you can take this off and replace it with another one. Alternative lenses include the 150mm f/3.5 and 250mm f/5.6.
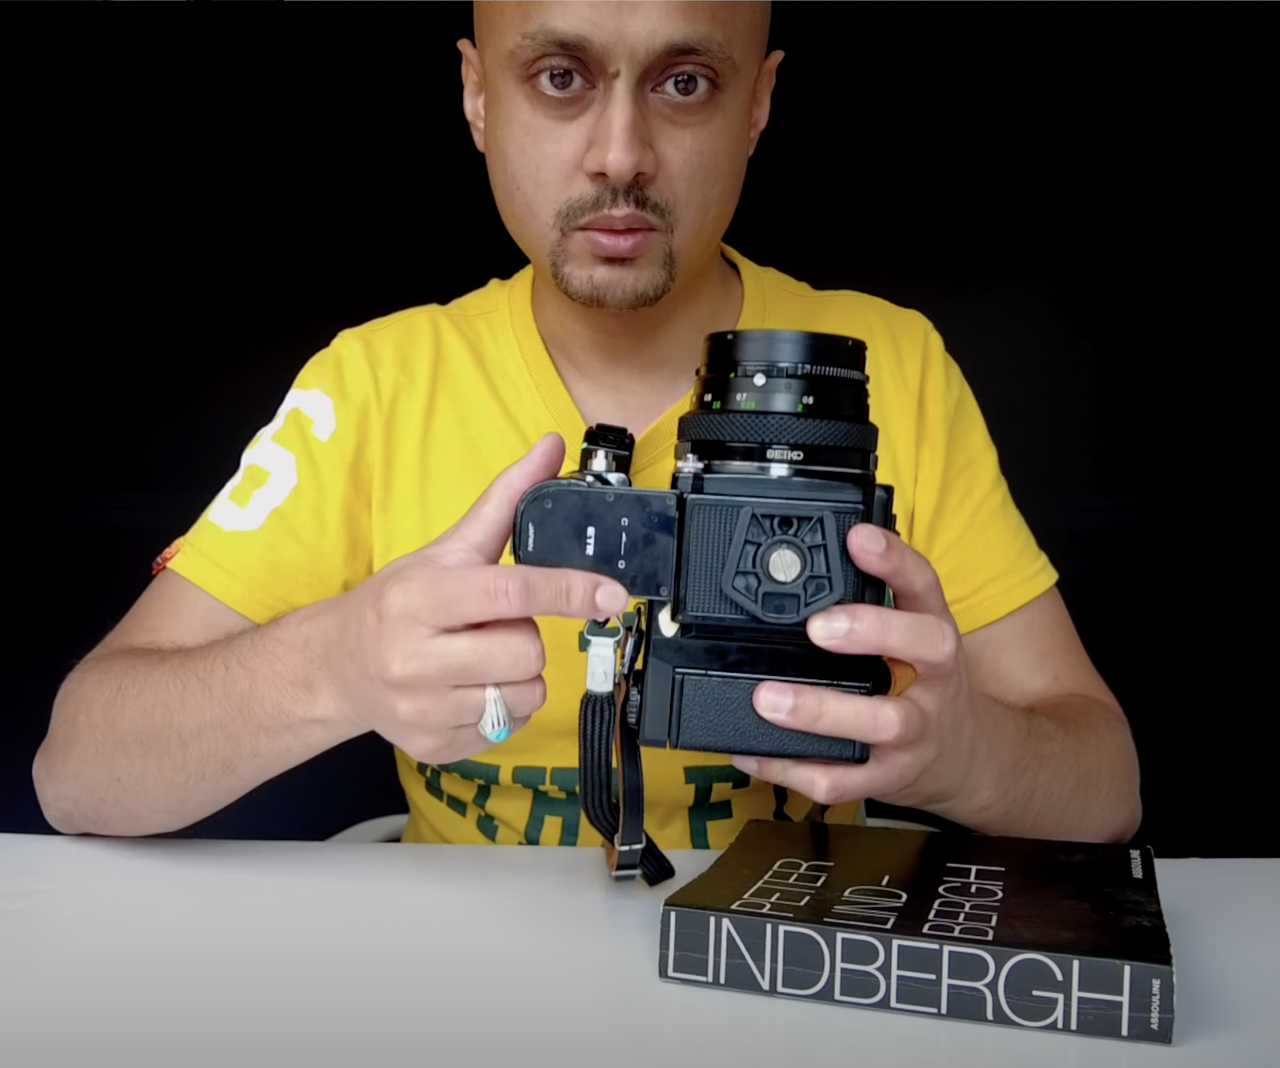
To change this lens, you have to just pull on this lever here on the side of the camera and then twist your lens and then it should be able to come off with ease.
It's a pretty straightforward, easy way to kind of take off the lens. And to keep things to look forward in your lens, it's making sure that everything is clear before you buy it and everything is looking good.
A good lens will take you a long way. The Zenza Bronica lenses are excellent for all sorts of photography. It's a straightforward and easy camera to detach. The 75mm lens opens up to f/2.8 and goes all the way down to f/22
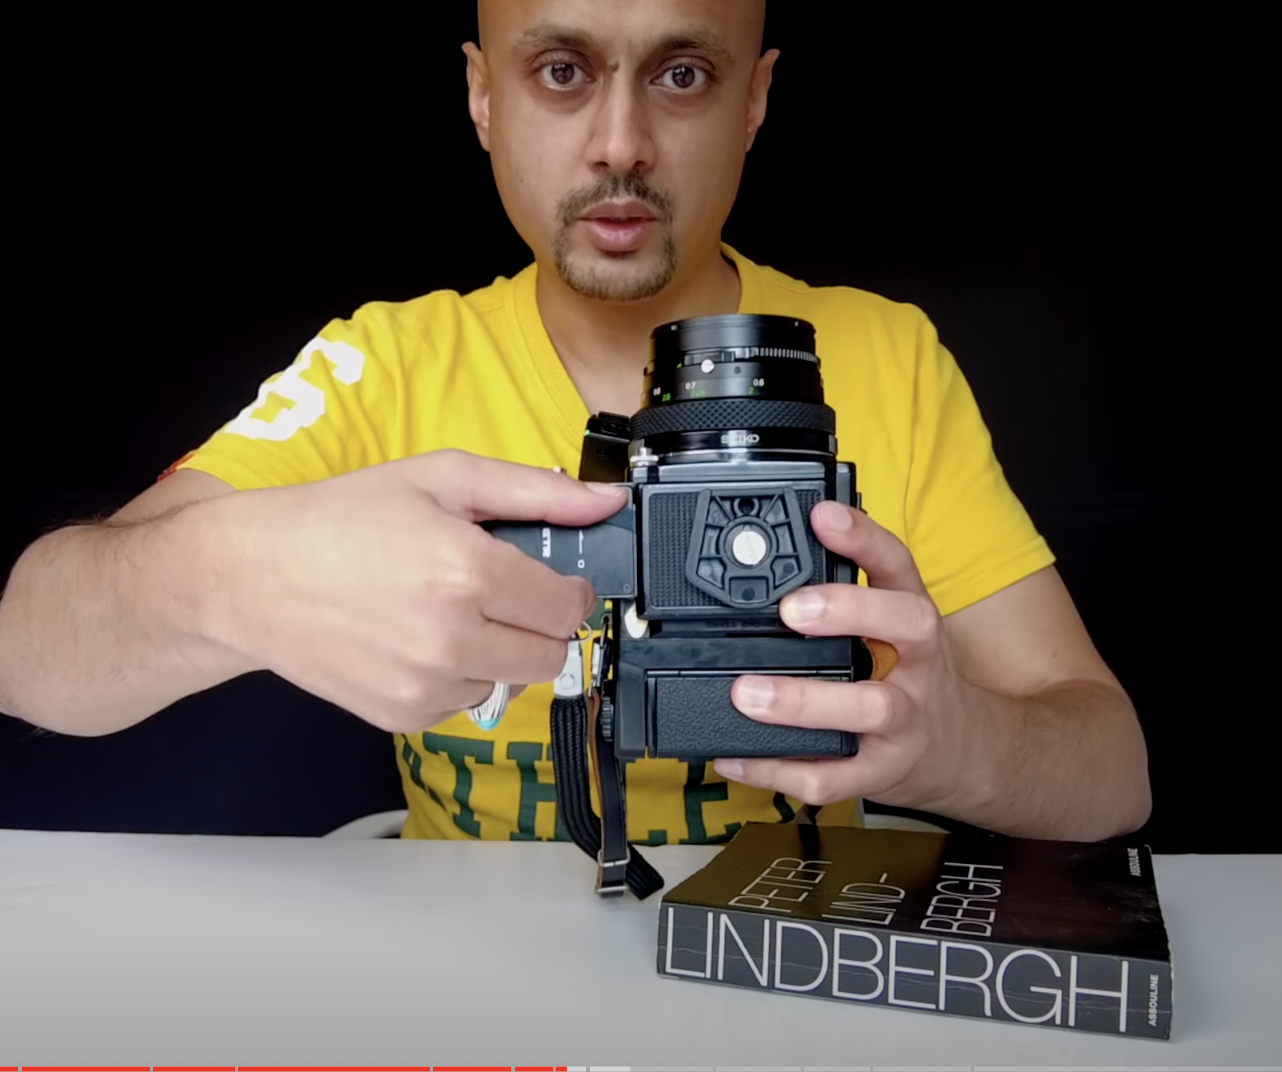
To change the aperture on this lens you just twist this lever here and it will rotate easily. To focus, it's simply pulling on this dial and you're good to go. It's a smooth dial, particularly with this lens. I reckon this has been kept well, therefore make sure that before you decide to buy your own one that it is not too stiff and it can smoothly rotate.
To detach this lens, if you want to fix a new lens, maybe a different one, then you can just pull on this layer here and then you can twist your lens. And then your lens will be detached. These are very heavy-duty lenses. They're fantastic, well kept, good glass.
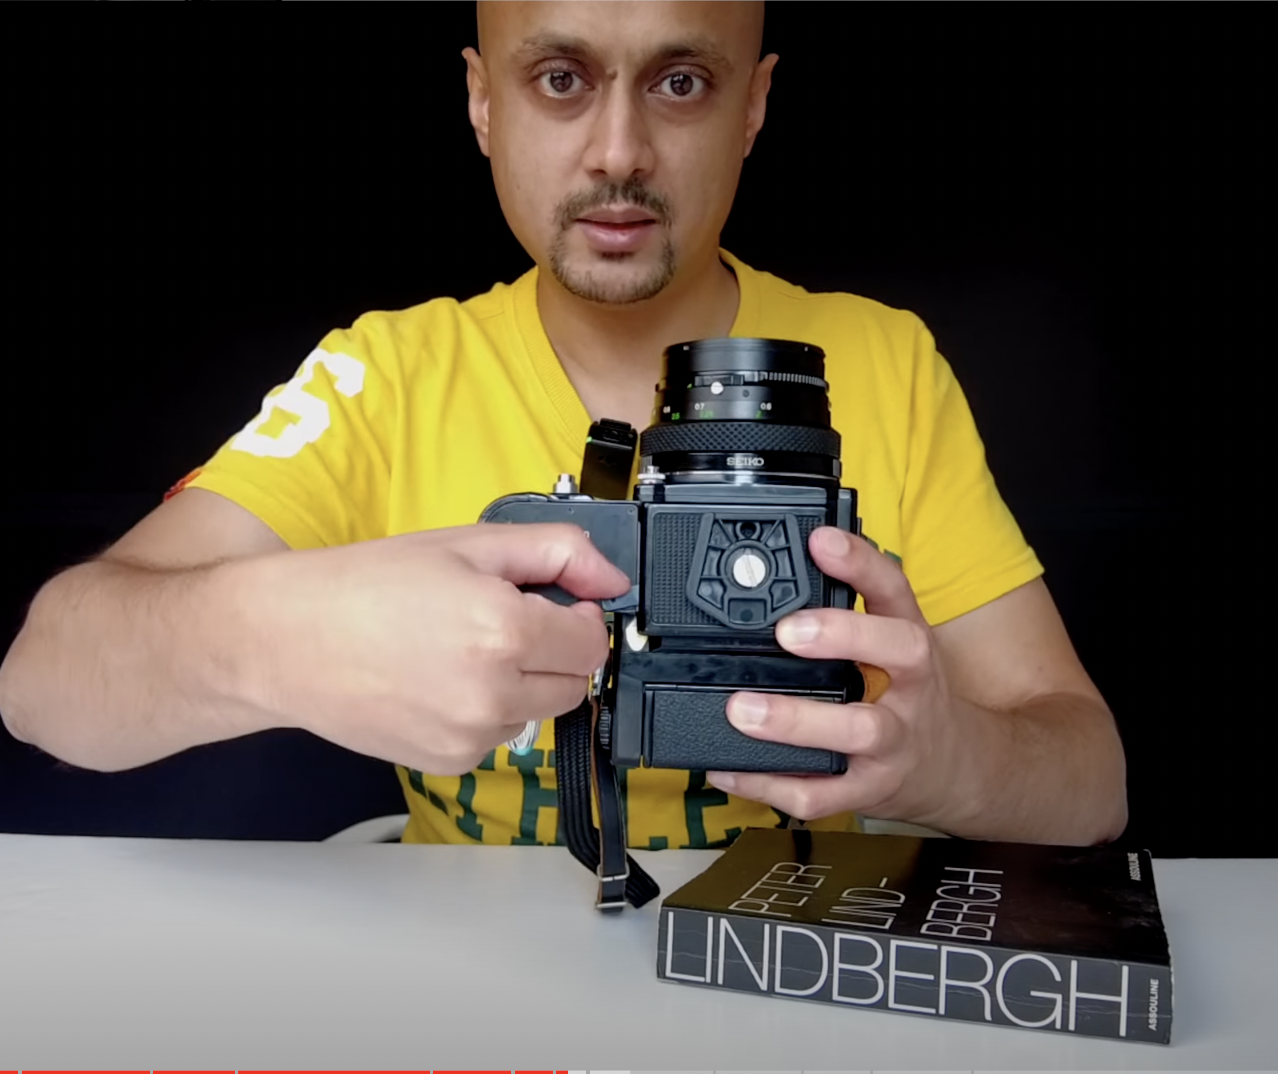
This will last you for a very, very long time. To pop it back on, simply align the red dot with the red line and then just pull until it clicks shut.
To change the shutter speed on your camera you simply have to rotate this dial on the left-hand side of the camera and then this will adjust from all the way down to eighth of a second all the way up to 500th of a second.
The Viewfinder

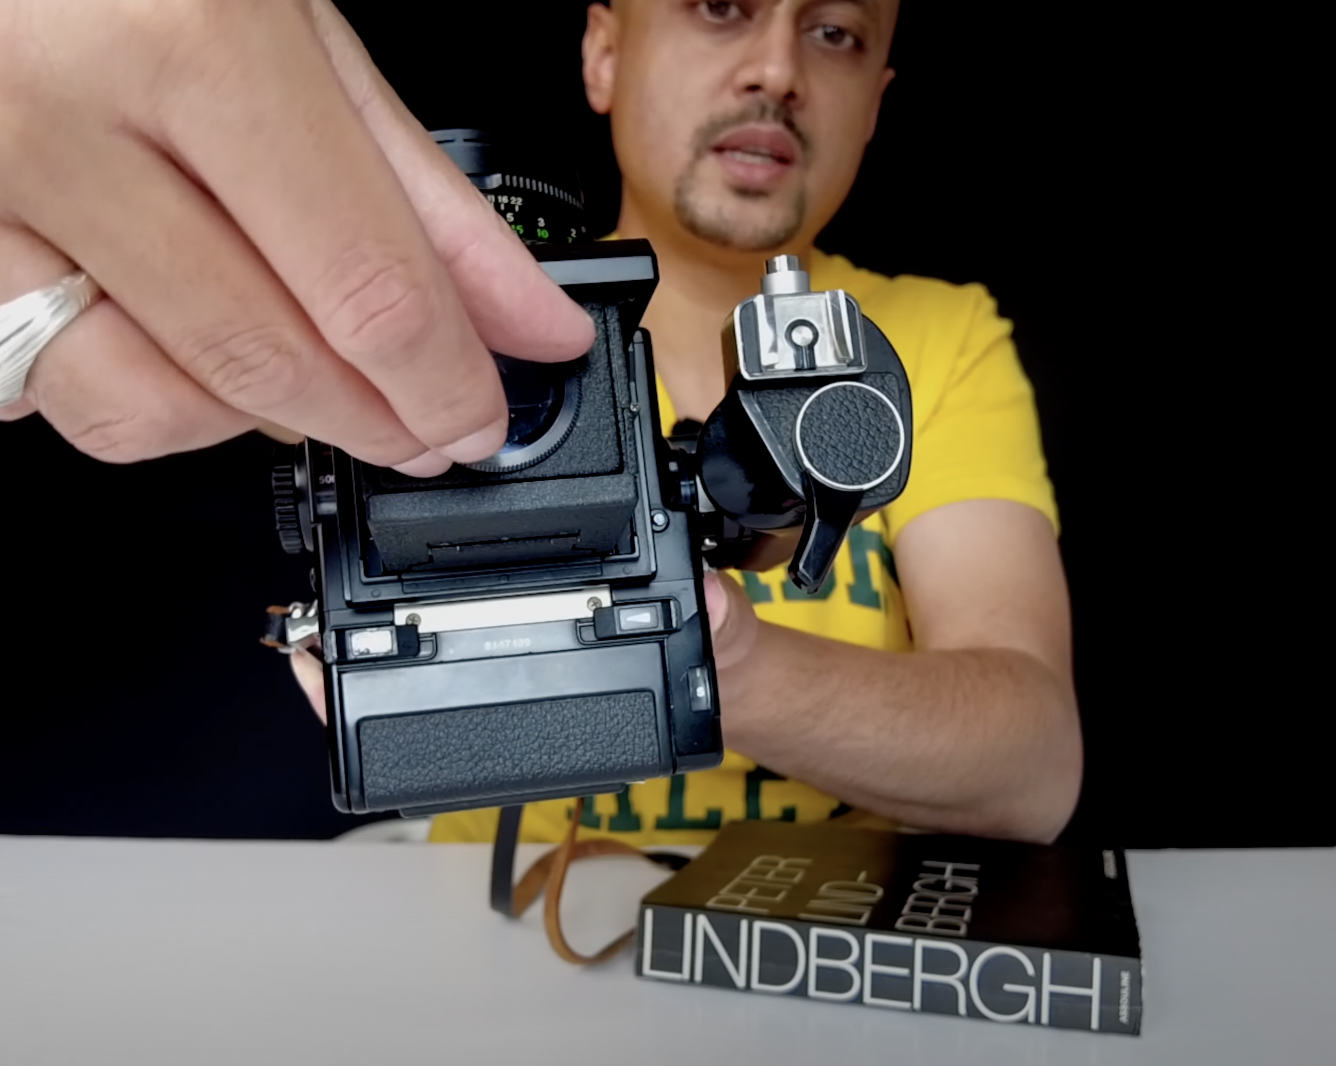
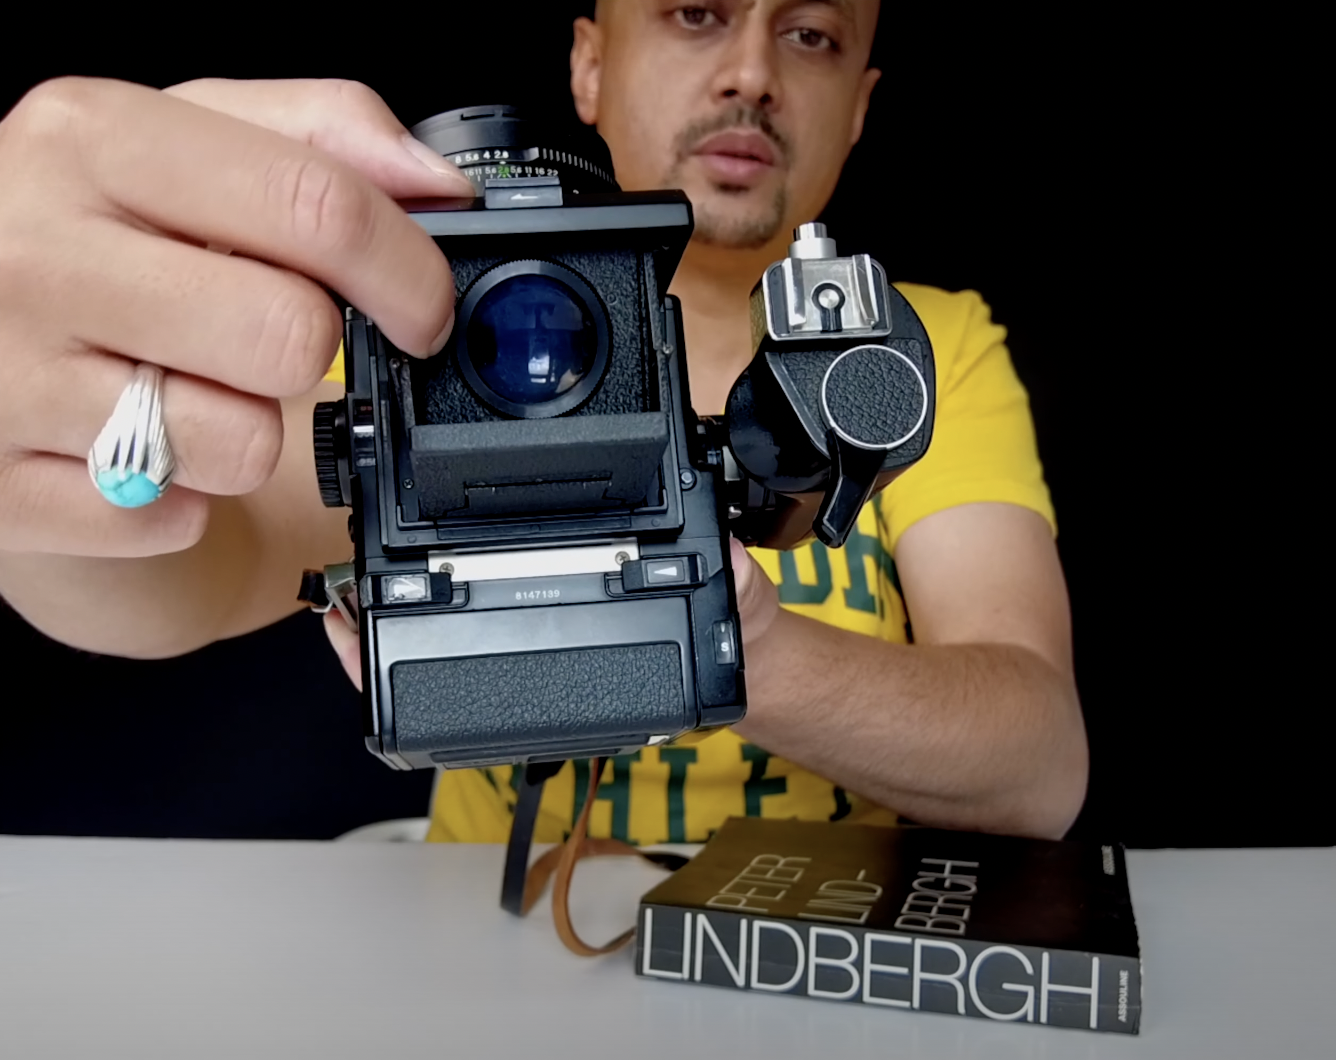


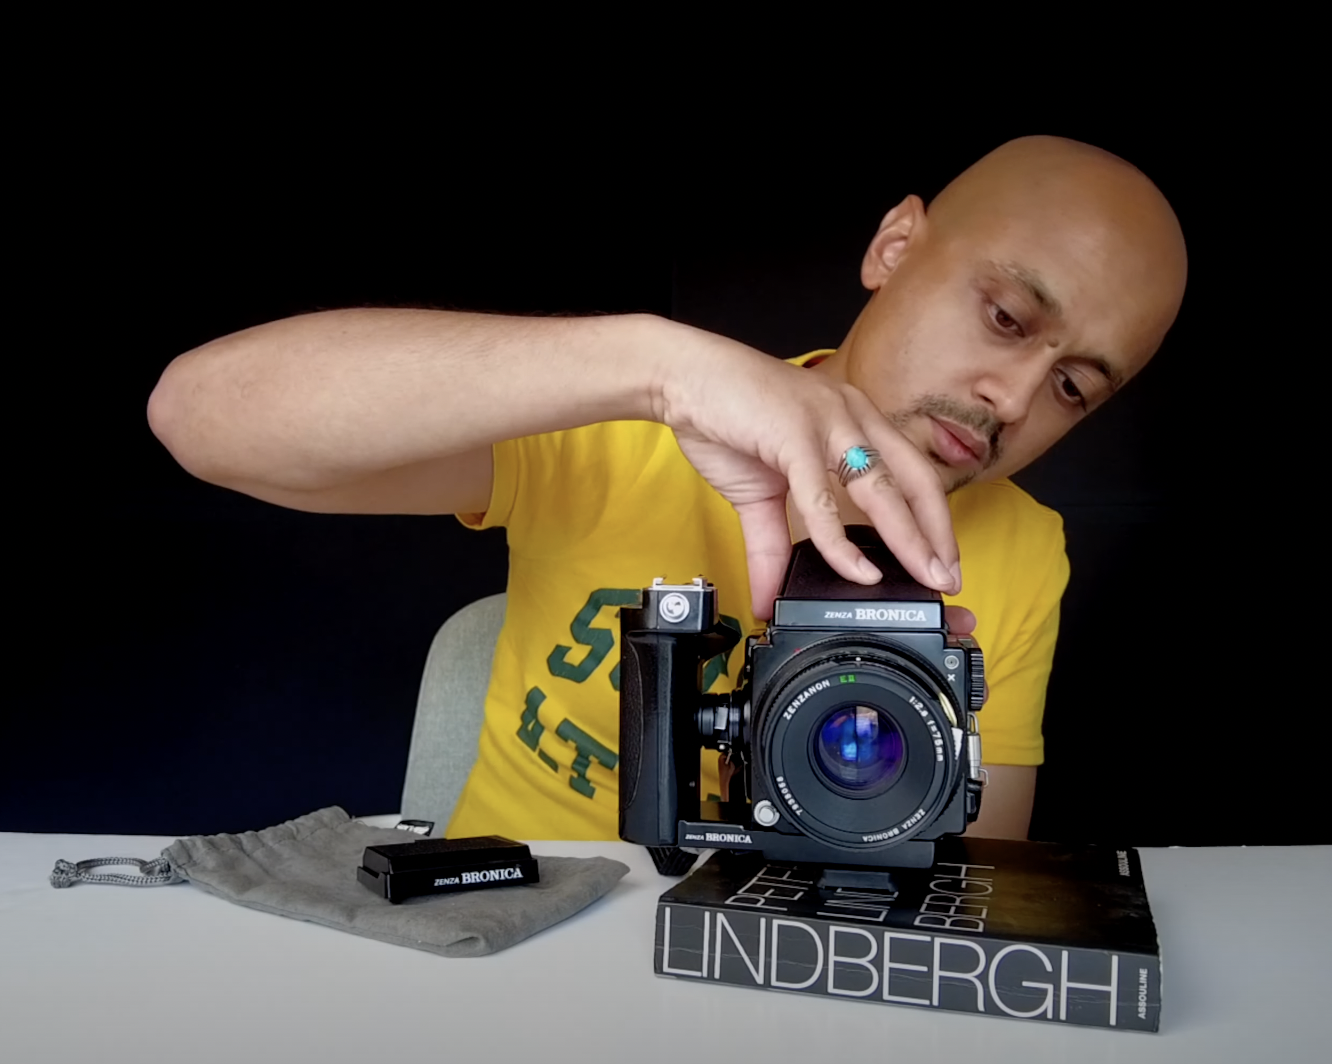
The view-finder is simple to open up. You will find a waist level finder with this little button here. You just pull it along or pop in your view-finder. Inside push the tab to pop up the magnifying glass. You can rotate this for your own focused viewing.
By pressing the magnifying glass you will have the full-on view of the focus screen. To close it, you simply pull this on either side and then it just closes down.
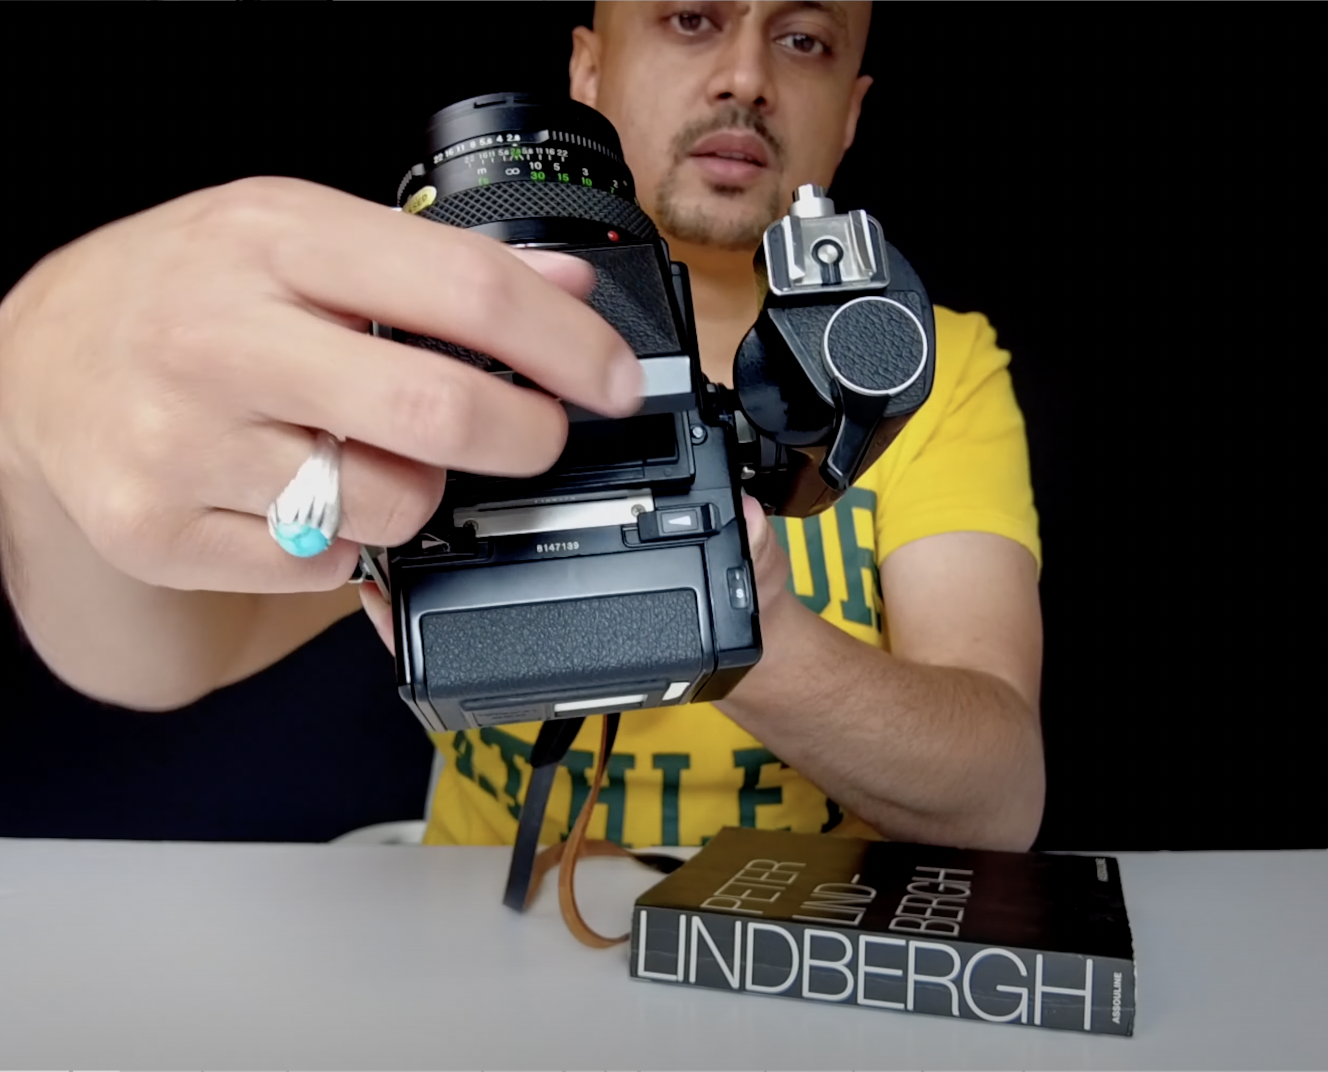
If you're not a fan of view-finders then you can also remove the view-finder for your own pleasure. There is a button just here on the top of the camera. You just depress the button and then you can pull this off completely, right?
Then you can have your entire view-finder as is, which is a good way to look at your scene. If you're outside, maybe in a park or in an open landscape then it might be worth using this function. It just gives you a nice look and feel about the camera itself. Recommend doing that!
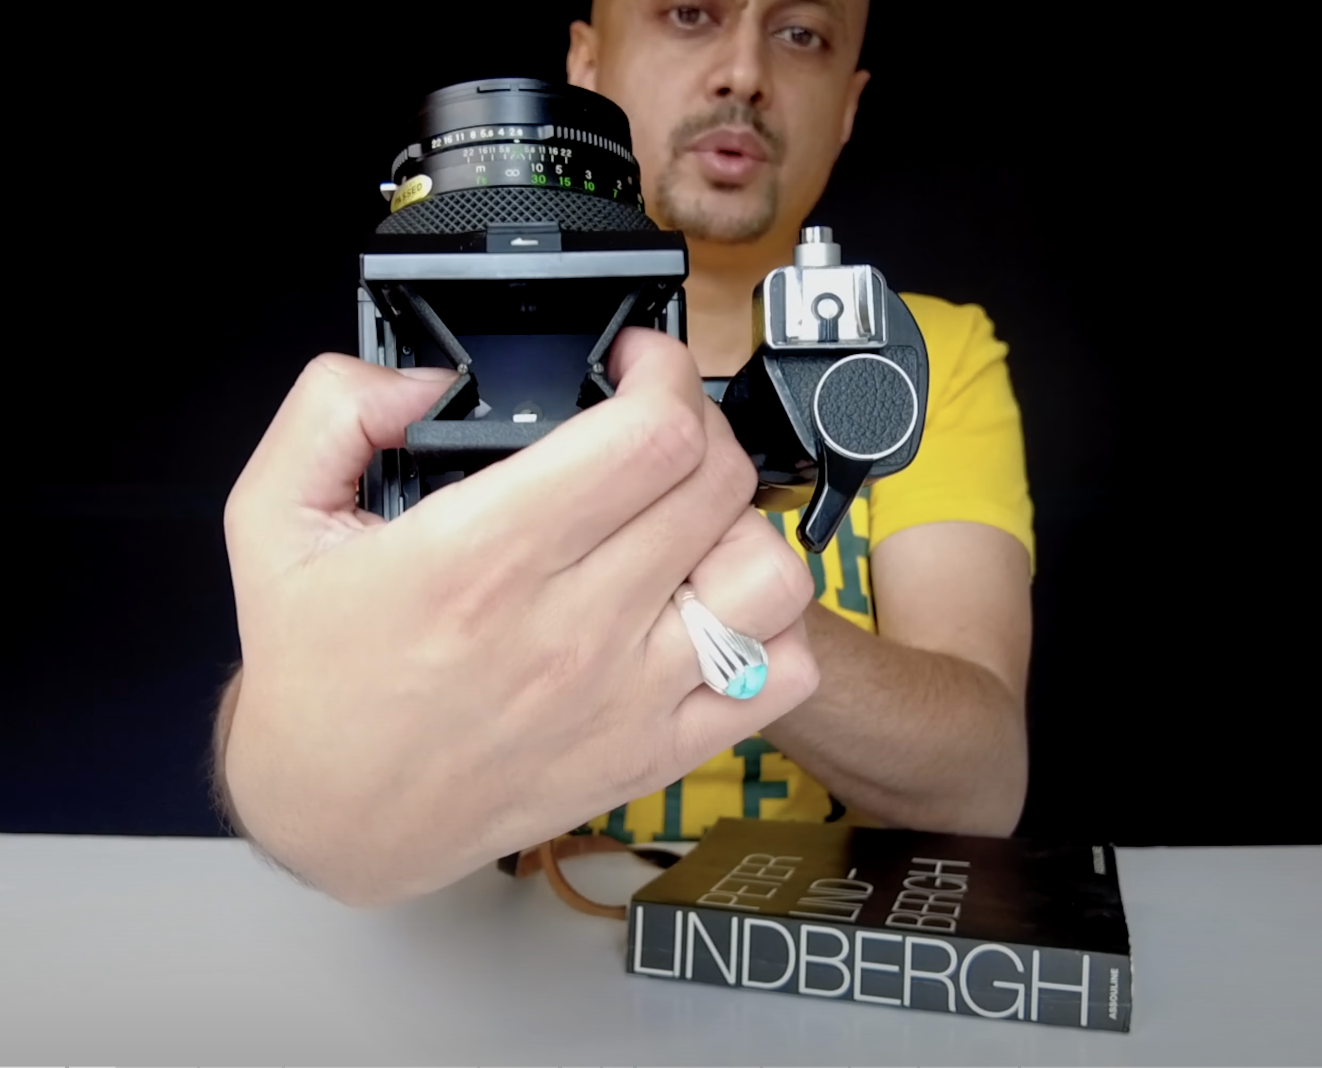
Focus Screen
One more thing to add about the view-finder is you can remove the focus screen and replace it with different ones.
In total, there are about seven different screens that you can put in here and they all serve a different purpose and function.
You can get some which have all the grids on therefore you can try to focus with everything in mind. You also have ones which are specifically designed for 35 millimeter shooting as well as ones where you have a multi-point focus point in the center of the view-finder itself.
Depending on which option is best for you if you're going to be shooting 35 mm or if you're going to be shooting medium format you might want to think about which glass or focus screen that you put in here.
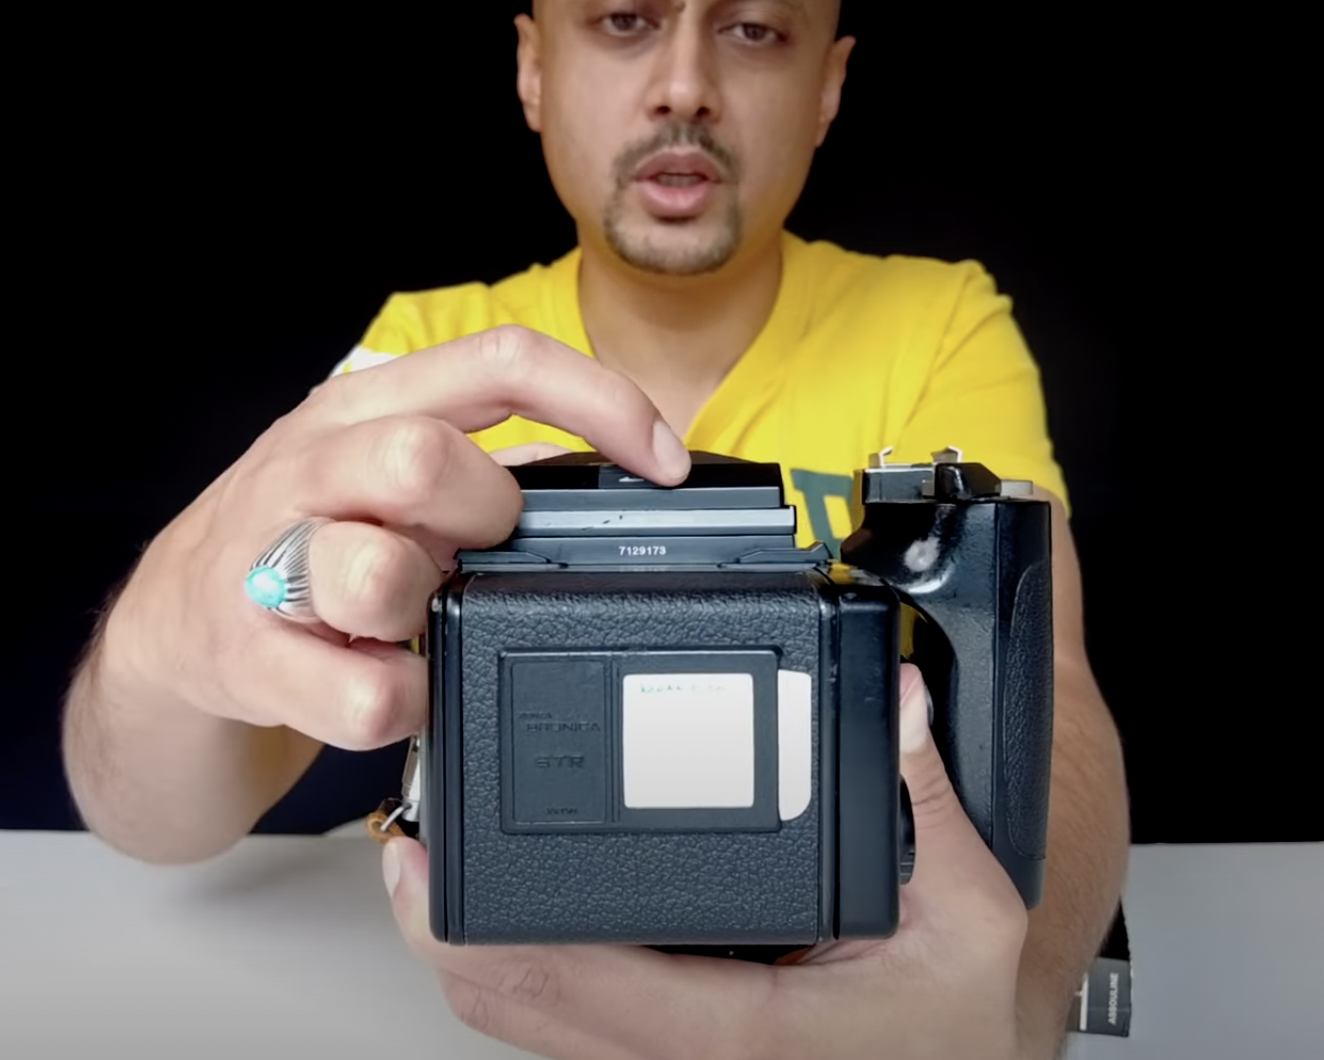
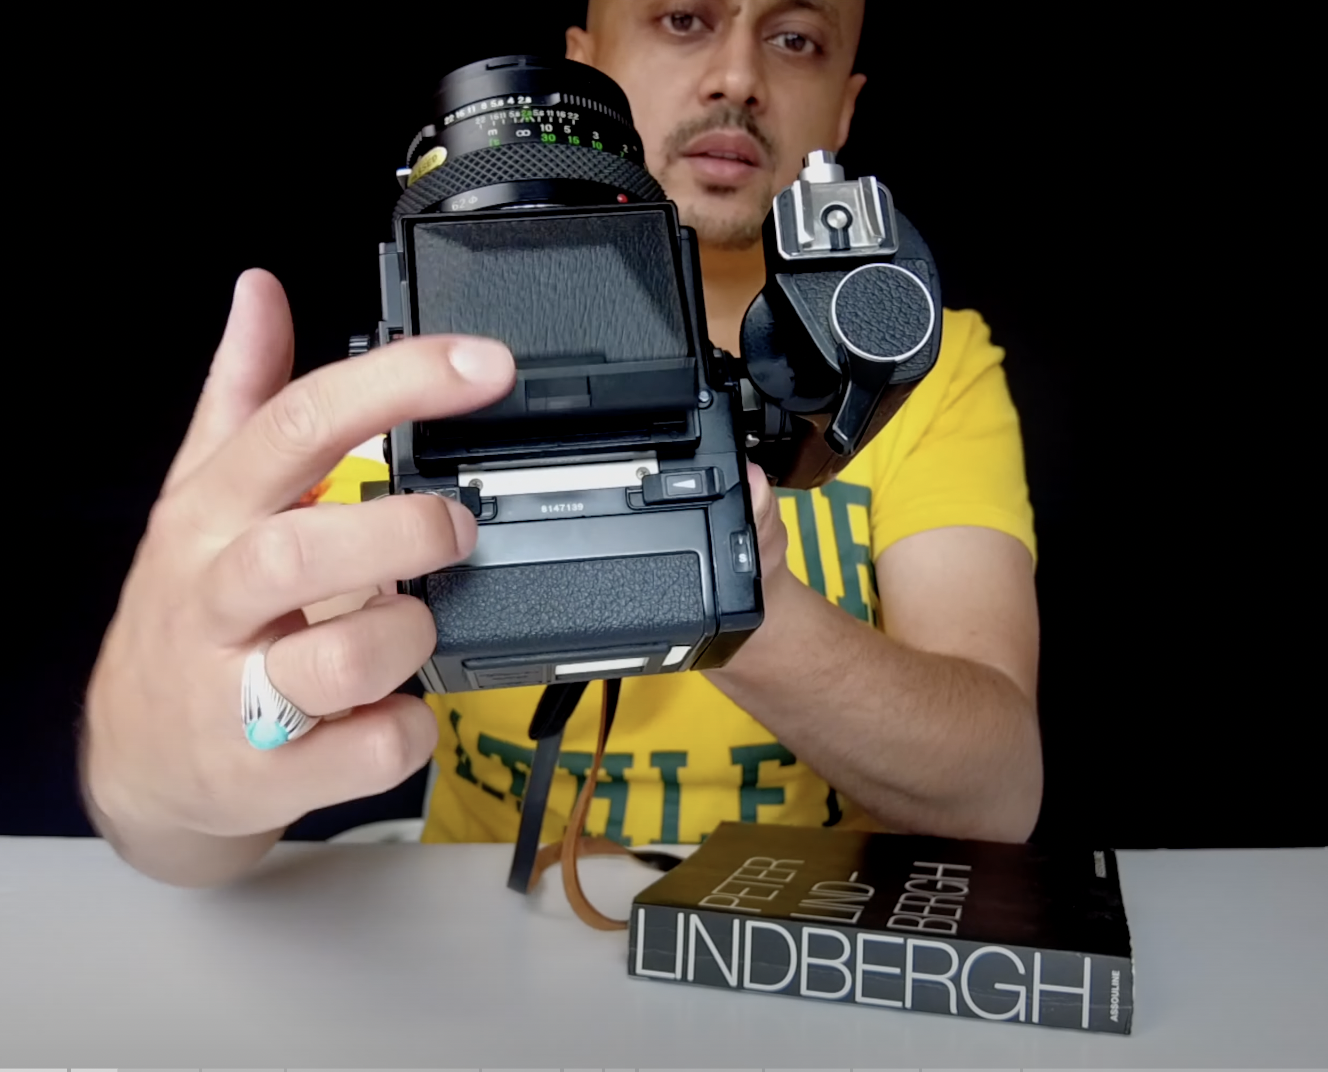
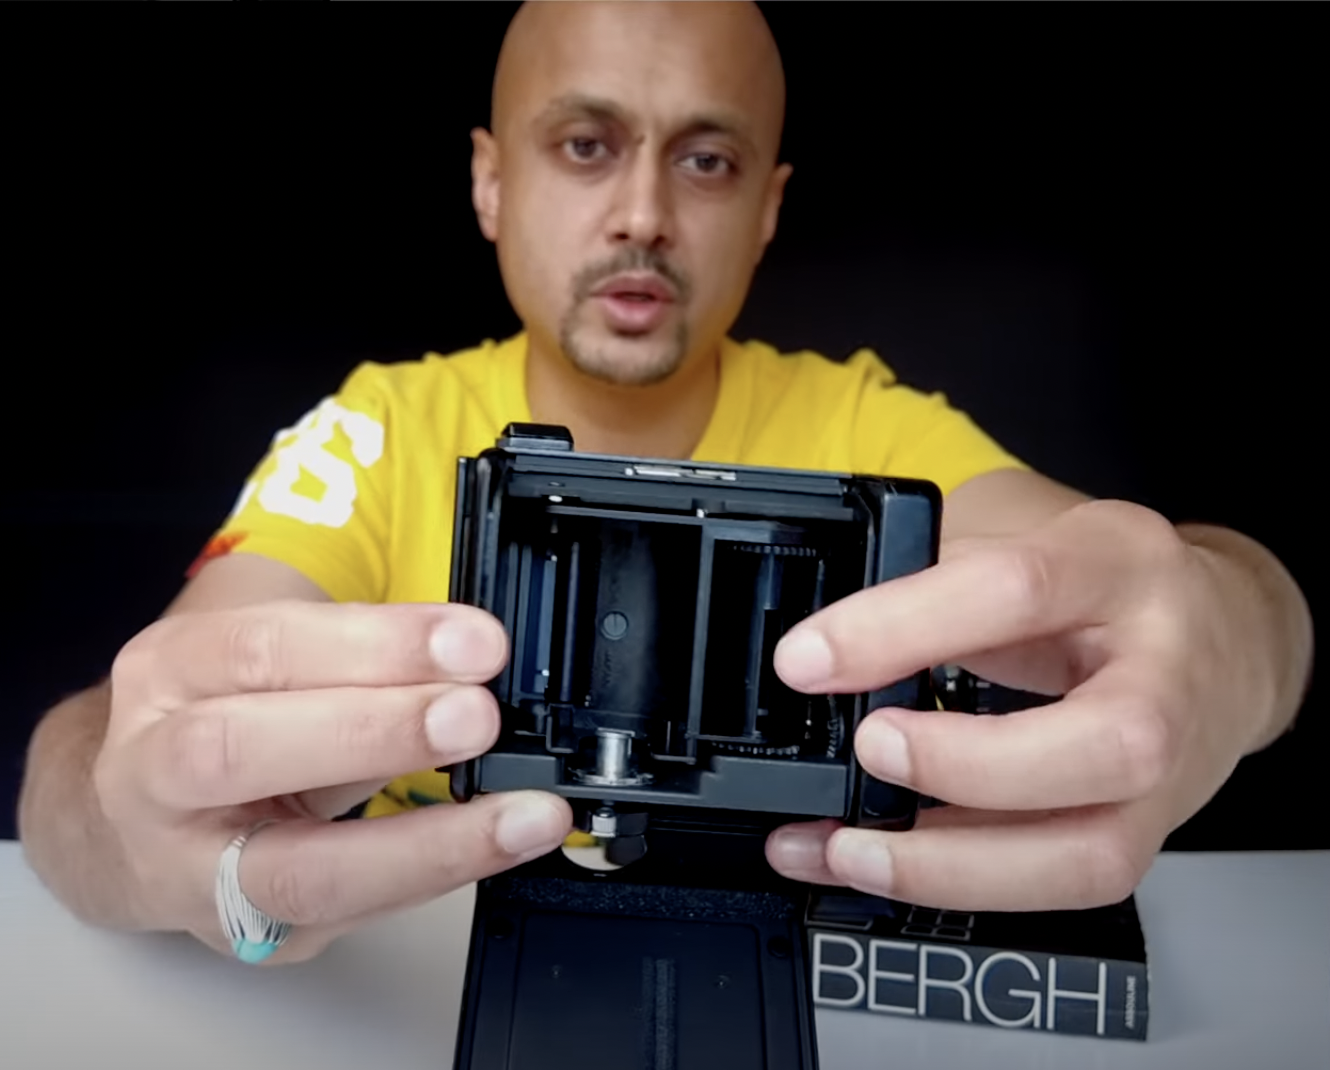
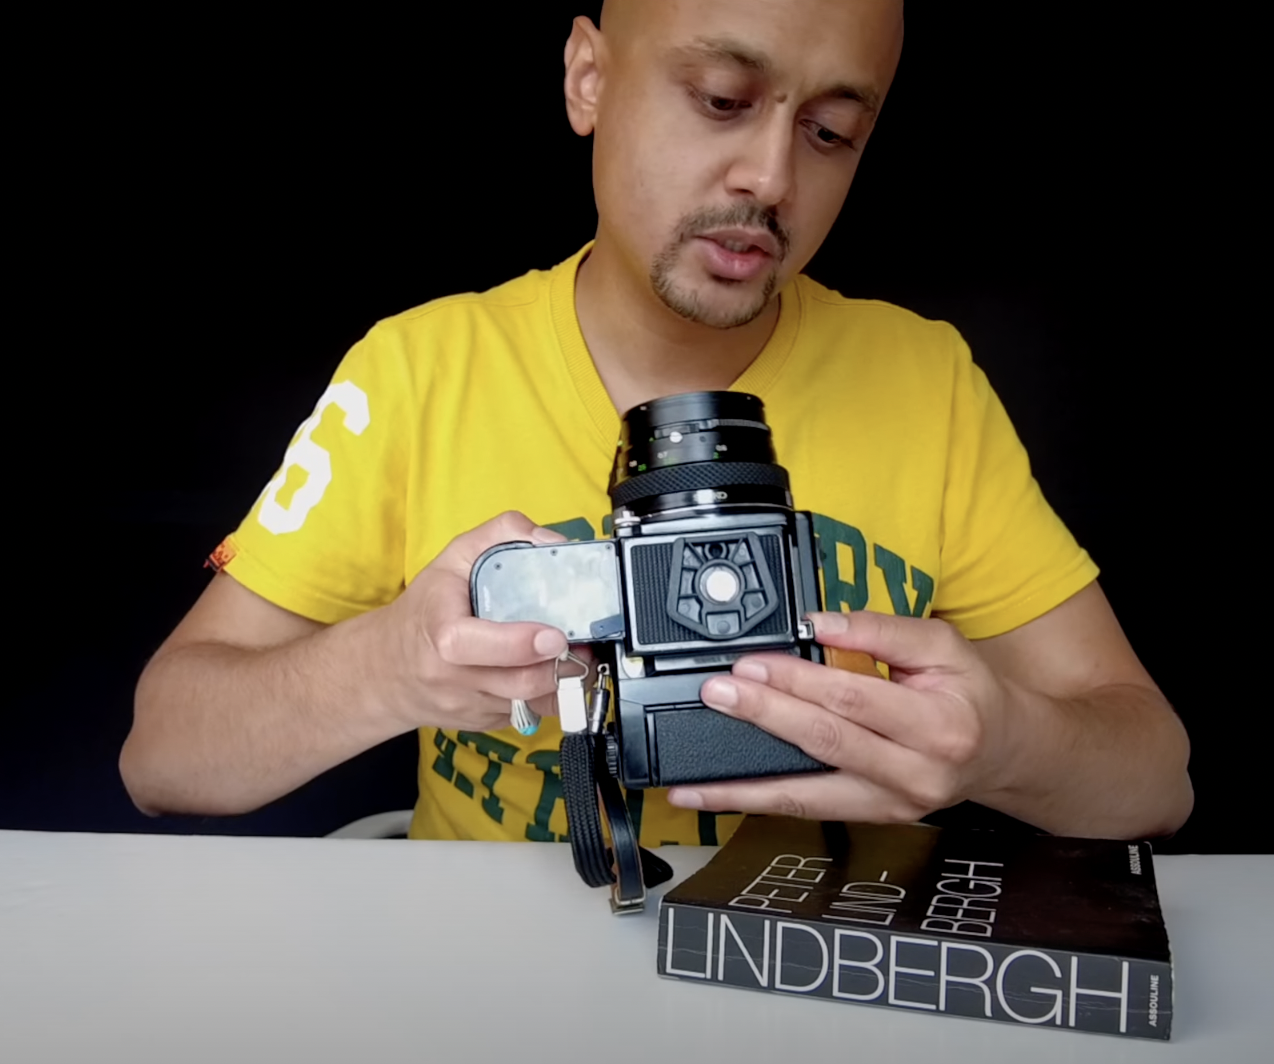
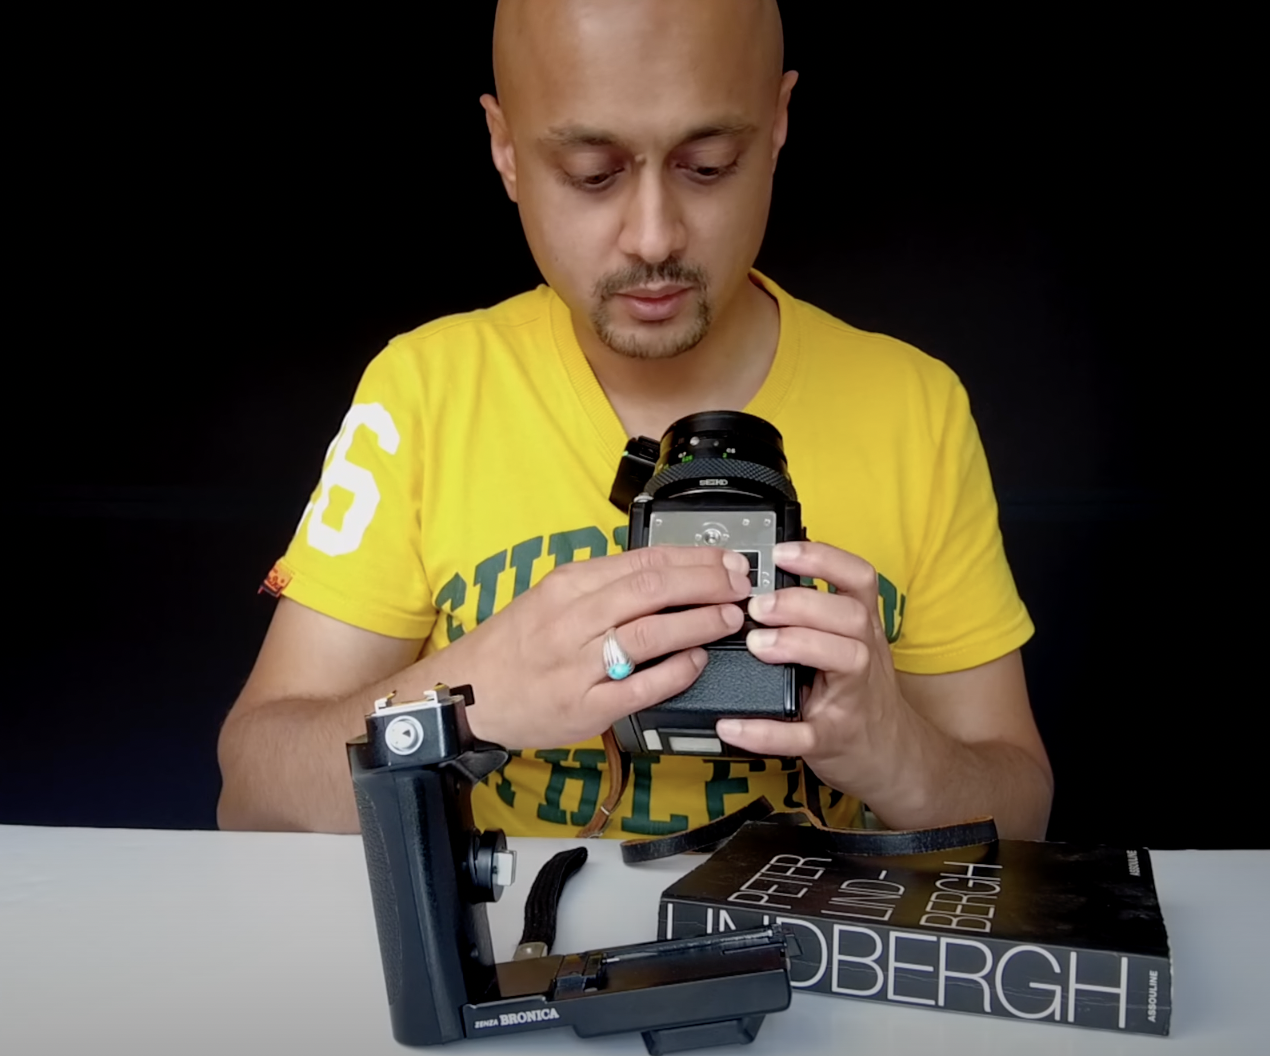
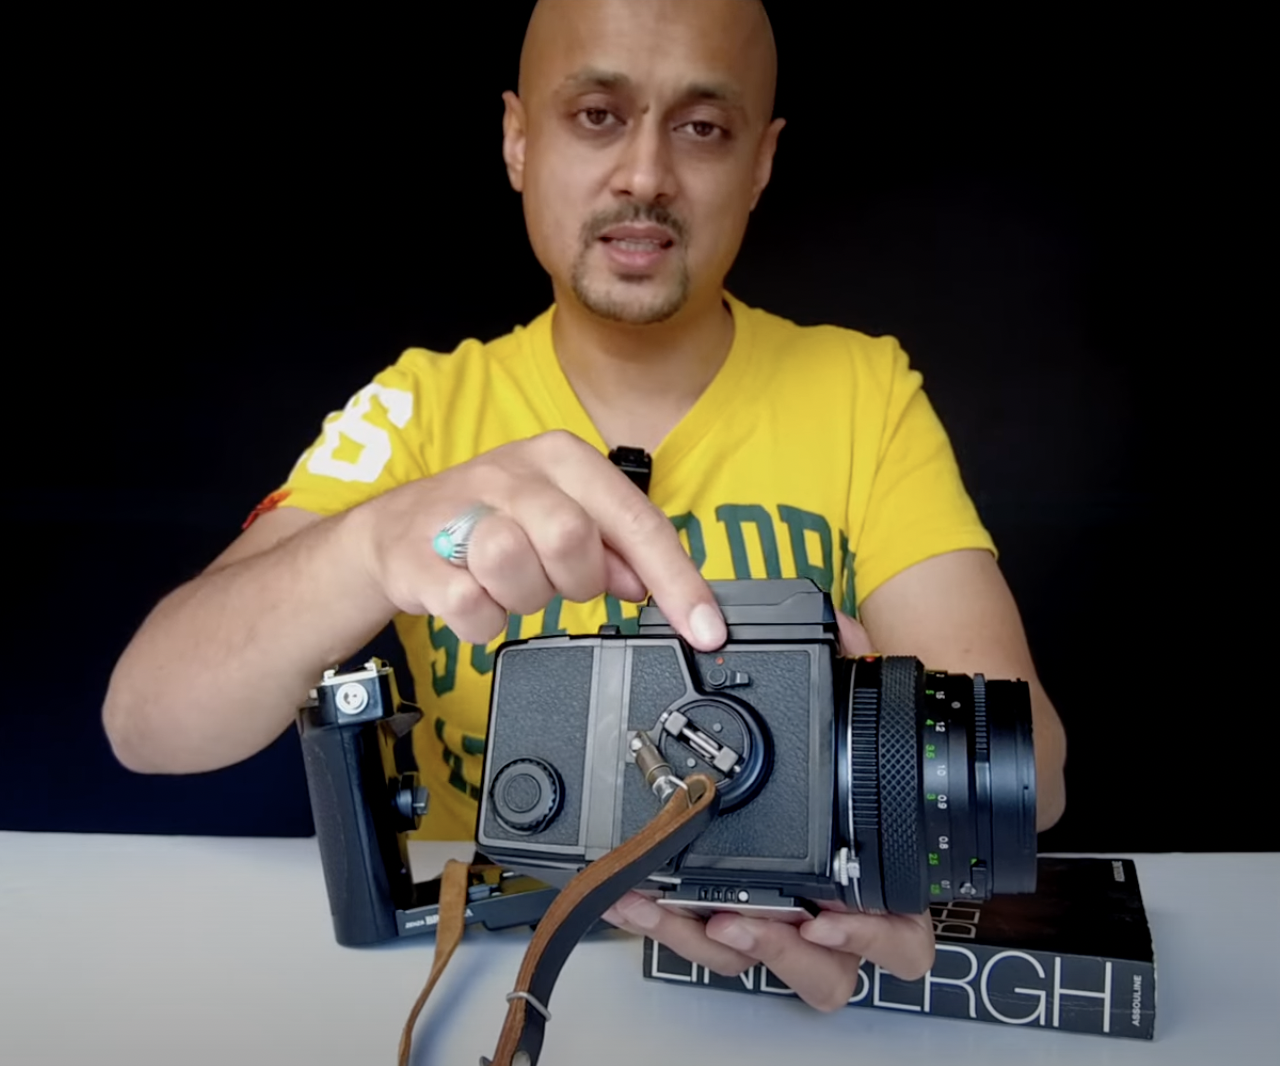
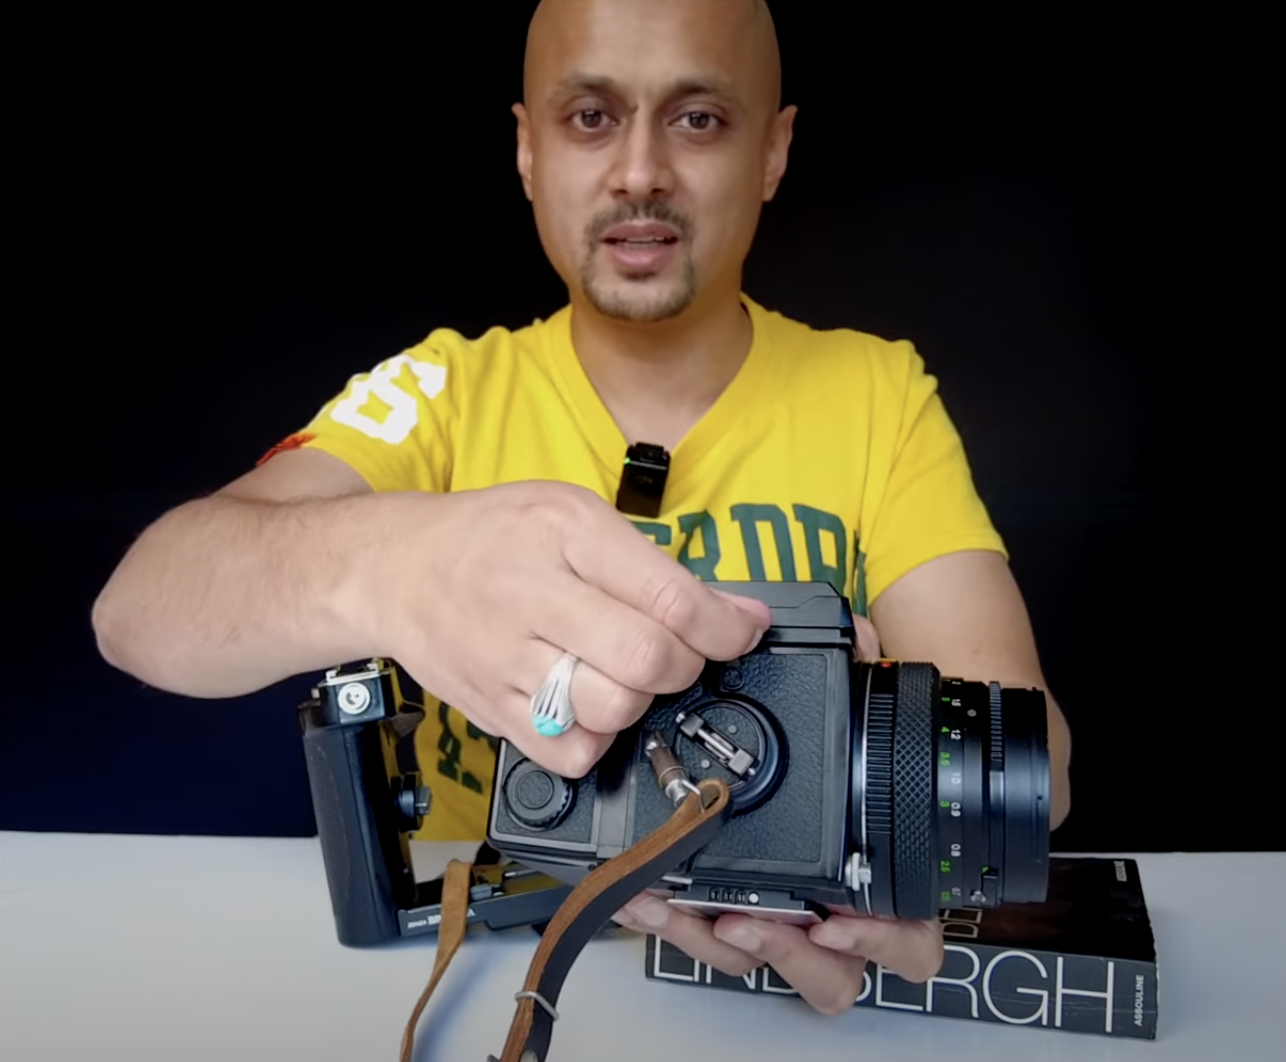
Releasing the film back


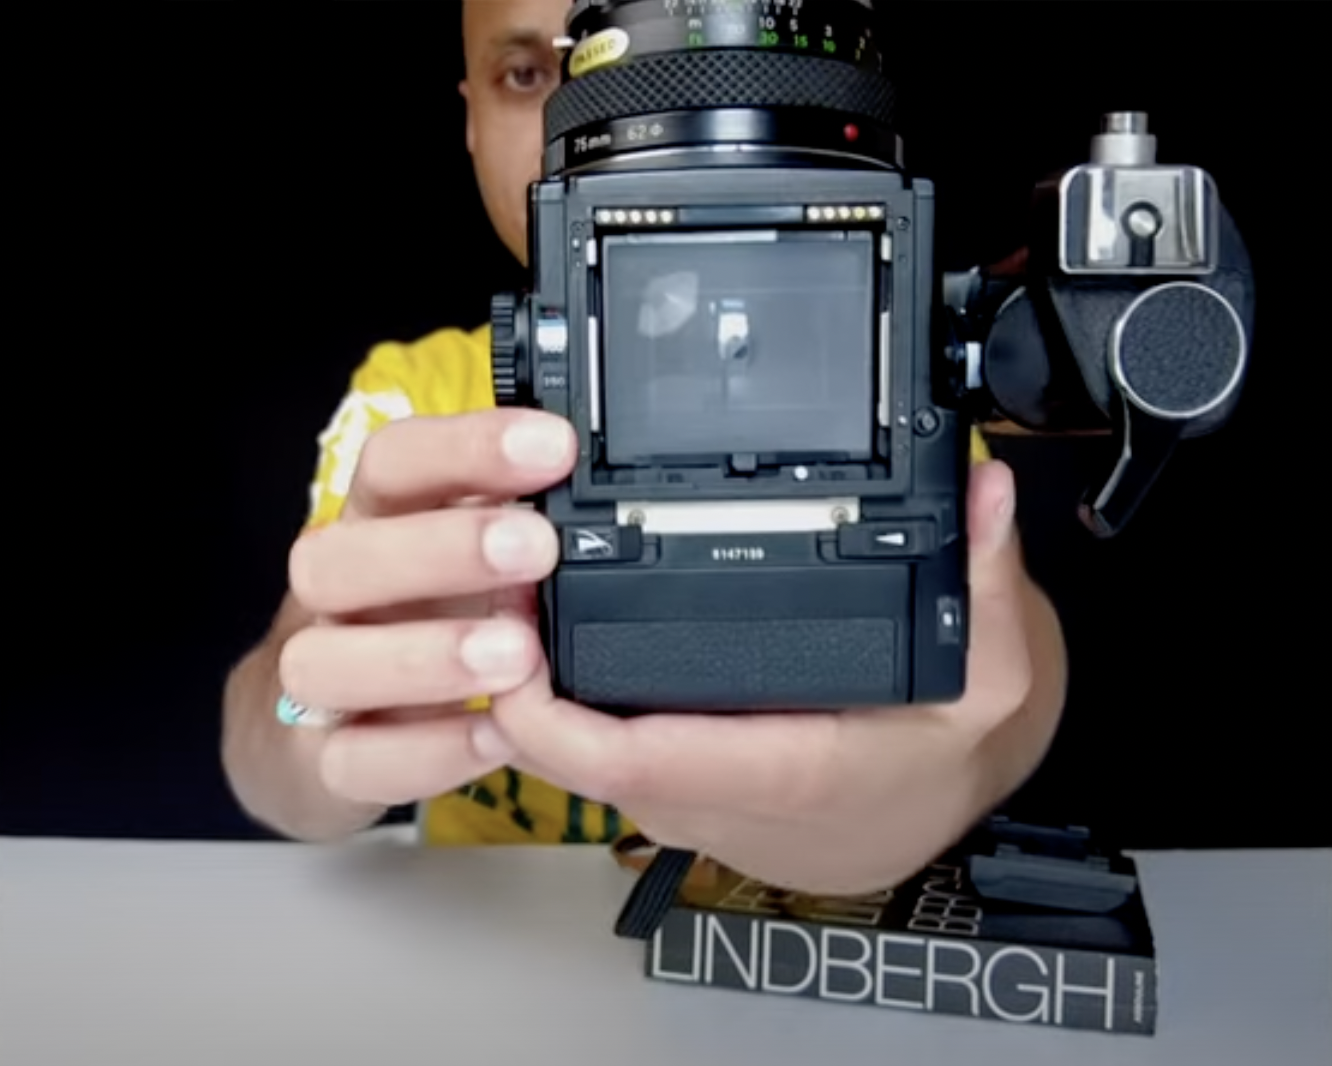
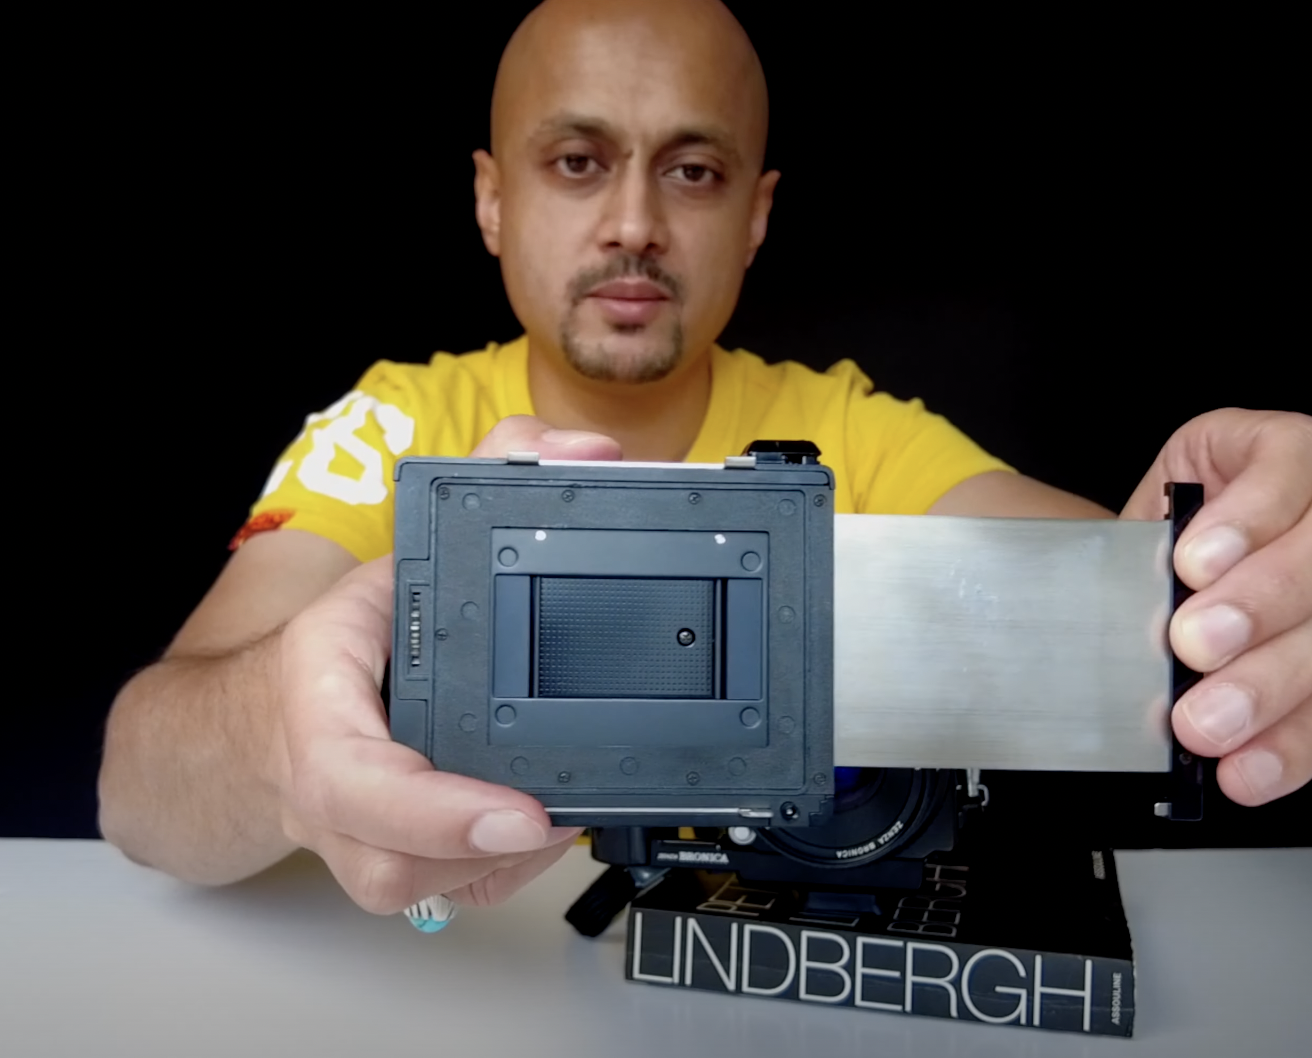
To release the film back all you have to do is press this button here which will then generally release your film back. To use the film back, you will have to unload it and then it opens up and you'll hopefully have a space ball that will go at the bottom and your film will go on top.
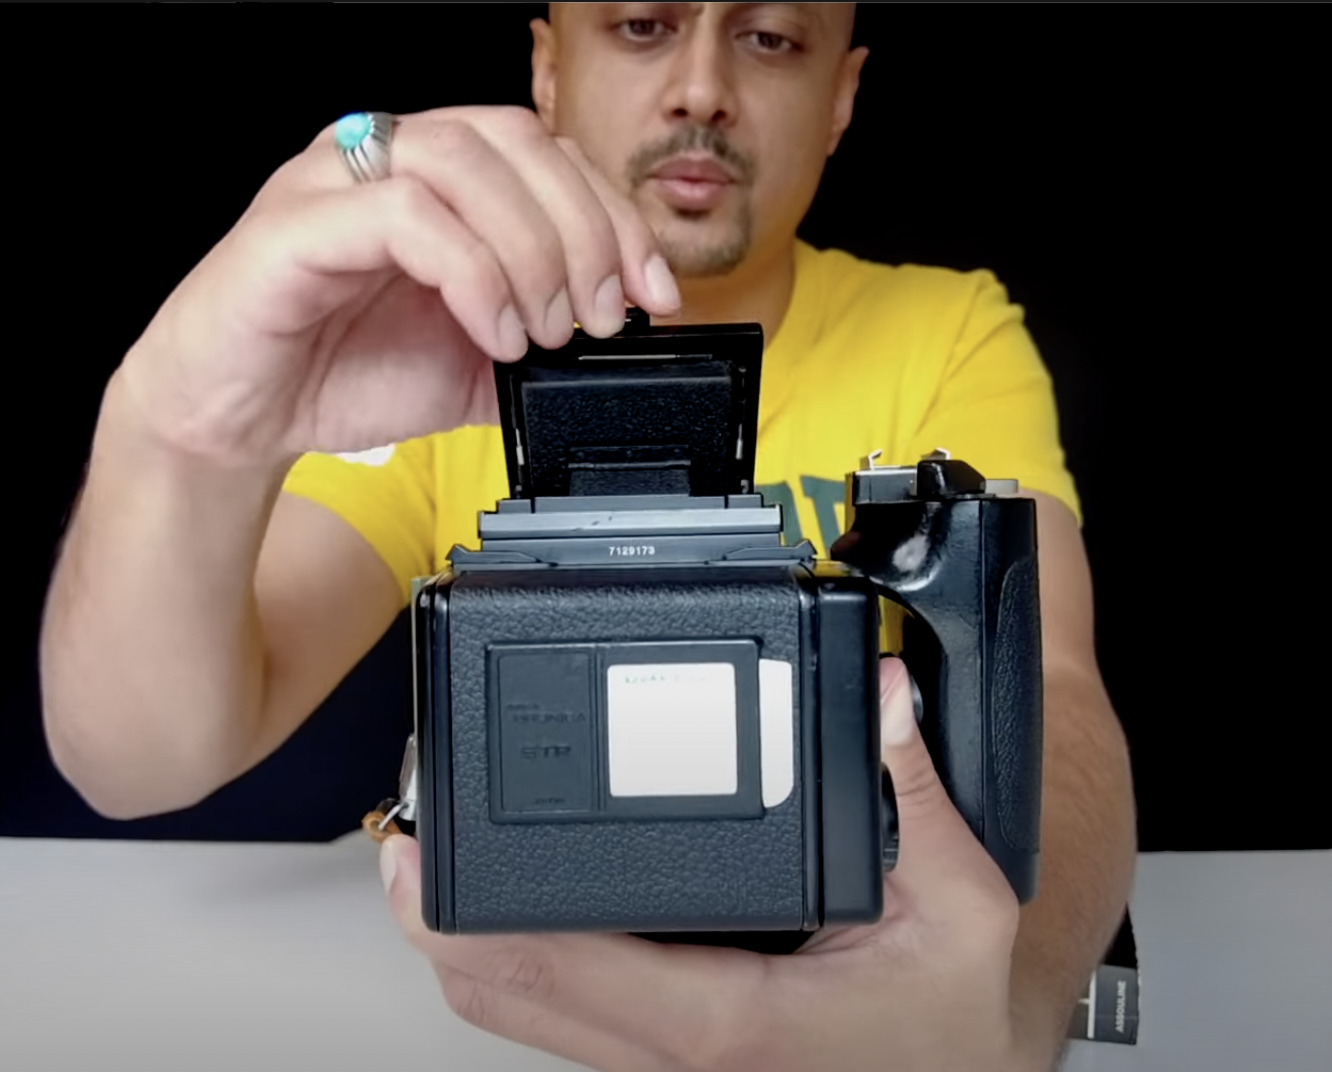
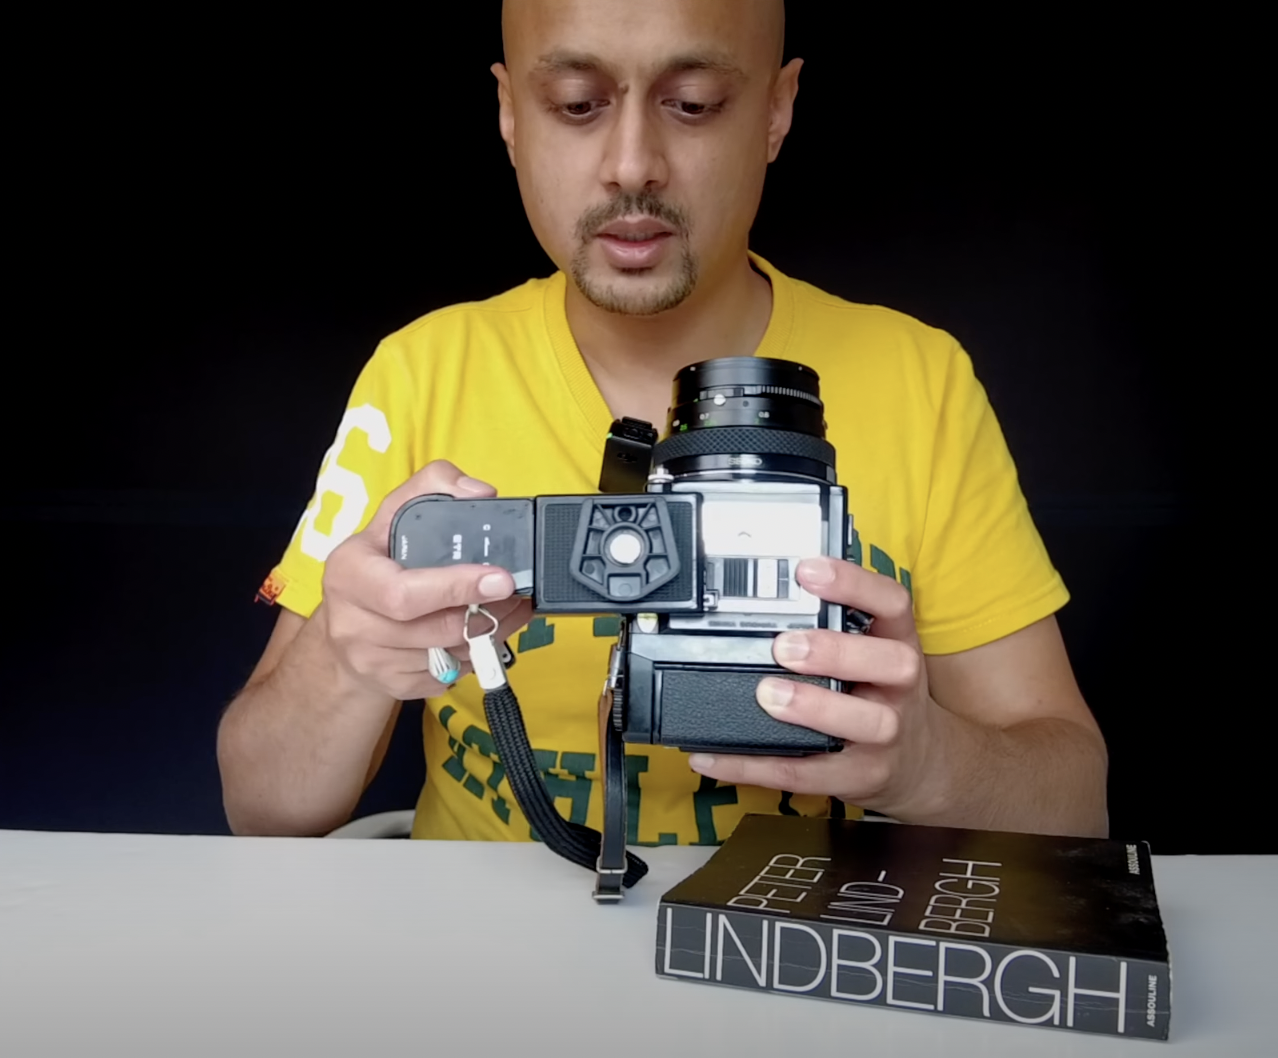
Once the the film holder is taken out it's very easy to use, pop it back into the main area. You can shut it close from above. Make sure it's firmly shut otherwise it will not work. You have also got a dark slide here.
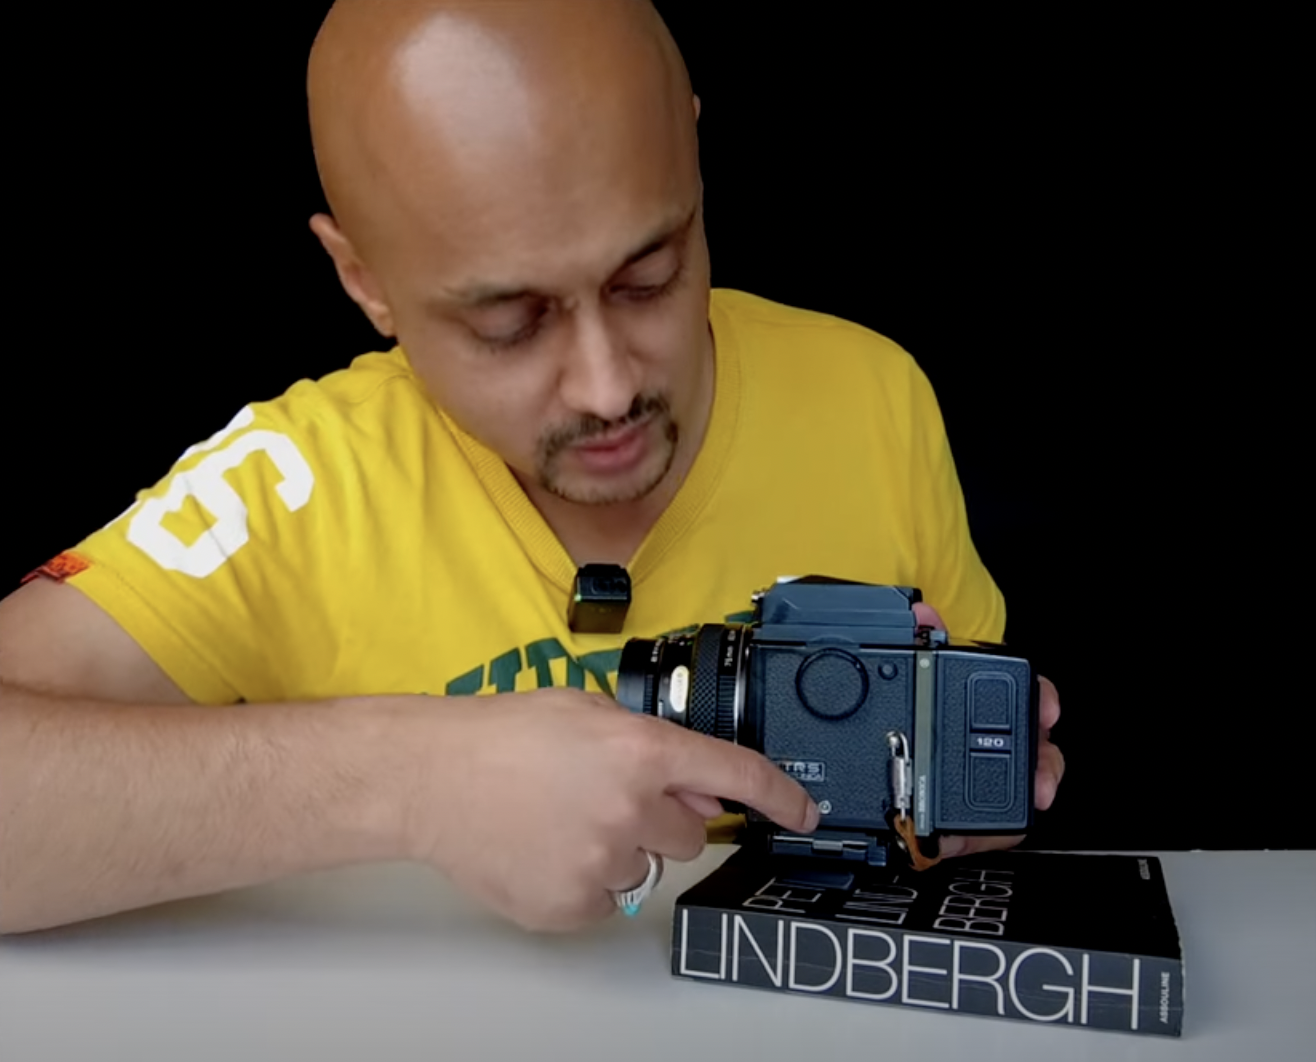
This pulls out to reveal the frame. This is a 6 x 4.5 camera and the film back obviously matches that. The dark slide comes with this little plastic bit at the end got a very nice professional feel to it as well.
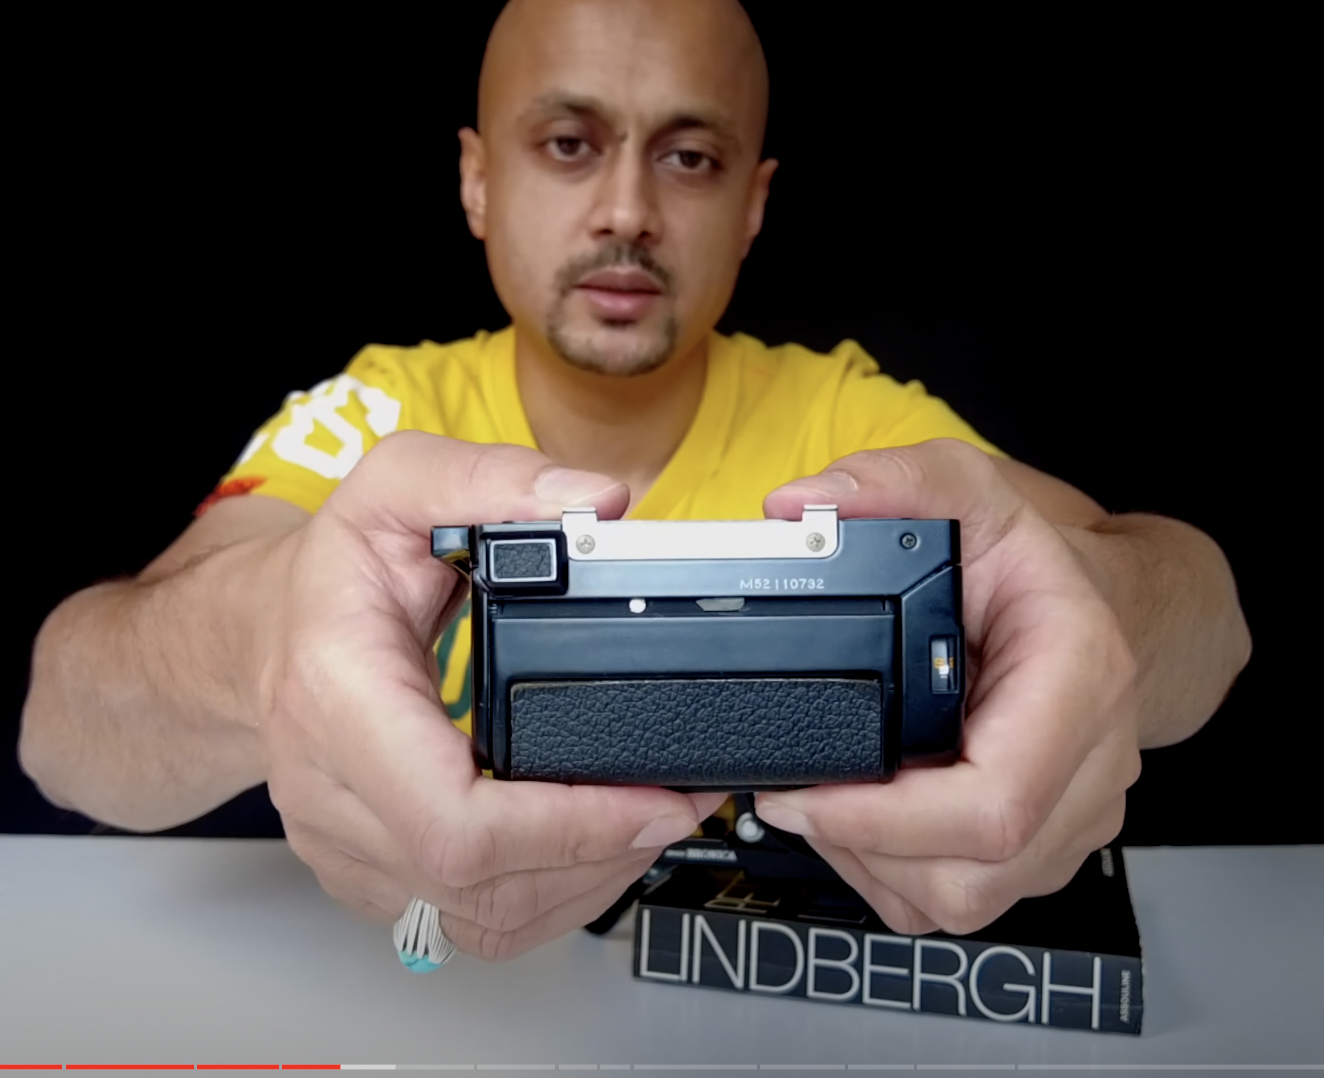
To pop it back on all you have to do is take the edge and line the two silver hooks and then pop it in. You'll hear the sound and you'll be good to go. As a rule of thumb it's always good to have a spare film back and there are lots and lots available for Bronica online.
This is actually an older film back than the ETRS one that I have here on my camera at the minute. And you'll notice that there is a slightly different function to open it.
I find that this one button open film back is a little bit more finicky to open but is certainly very sturdy still. Be mindful that if you are looking for a film back on Bronica that you find one which is straightforward and easy to use.
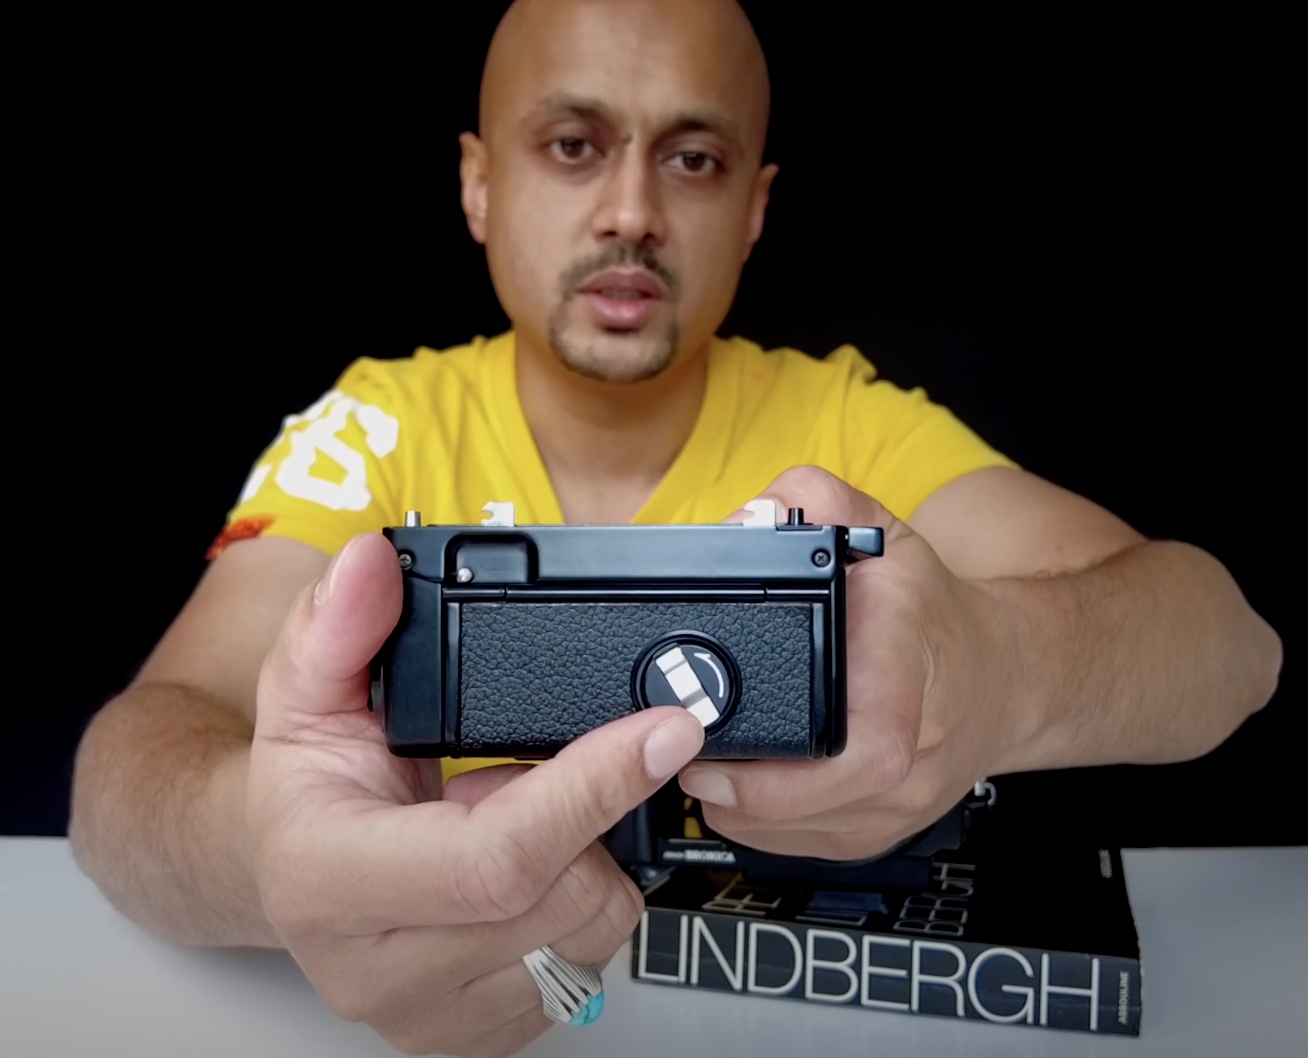
The best ones I've found have been the ones with two arrows at the top here and here because you can just pull these and then the cassette opens very, very easily.
How to use 35mm Film Backs


You can also get 35 millimeter backs for the Zenza Bronica and here's one that I've got. This is a 135N. There's also 135W. And they have different aspect ratios. The 135N has normal 35 millimeter dimensions and it opens up and you'll notice here in the back the film will go in here.
On the right-hand side over here pull the film across and then you can wind it on using this device here on the right-hand side. To close it, you just need to simply pull here and close shut. And once you finish your film you can unwind it by rotating this the other way around.
You'll notice that the dark light when I remove it is what you'll get with a normal 35 mm dimension. If you want to have that flexibility to shoot with 35mm as well as Medium Format, then this is going to be a good option for you to consider while moving up.
My recommendation however is that if you are going to shoot 35mm think about which film back you want to get. The 135N film backs are relatively cheap online. However, to find the 135W film backs, there's a noticeable markup on the price.
For a 135W you are looking at probably around £700-800. This wide film back is not as wide as a Hasselblad XPan in terms of its aspect ratio. Before you fork out this amount, think about the dimensions carefully first. If you enjoy that wide landscape view on 35 mm, then this could be an option for you.
Once your film is loaded, you're going to have to make sure it's fully put onto the spool. All you have to do is just twist this here until you get to the first frame, which you'll see up here.
The alternative way of doing it is if you've got a handle grip you can just rotate this in the same way you would with a normal 35 mm camera.
Once you've got your first frame and you're ready to shoot, you can line up and you can depress this shutter button here to shoot. The alternative option is if you don't have the handle grip then you can shoot by depressing this shutter button right here.
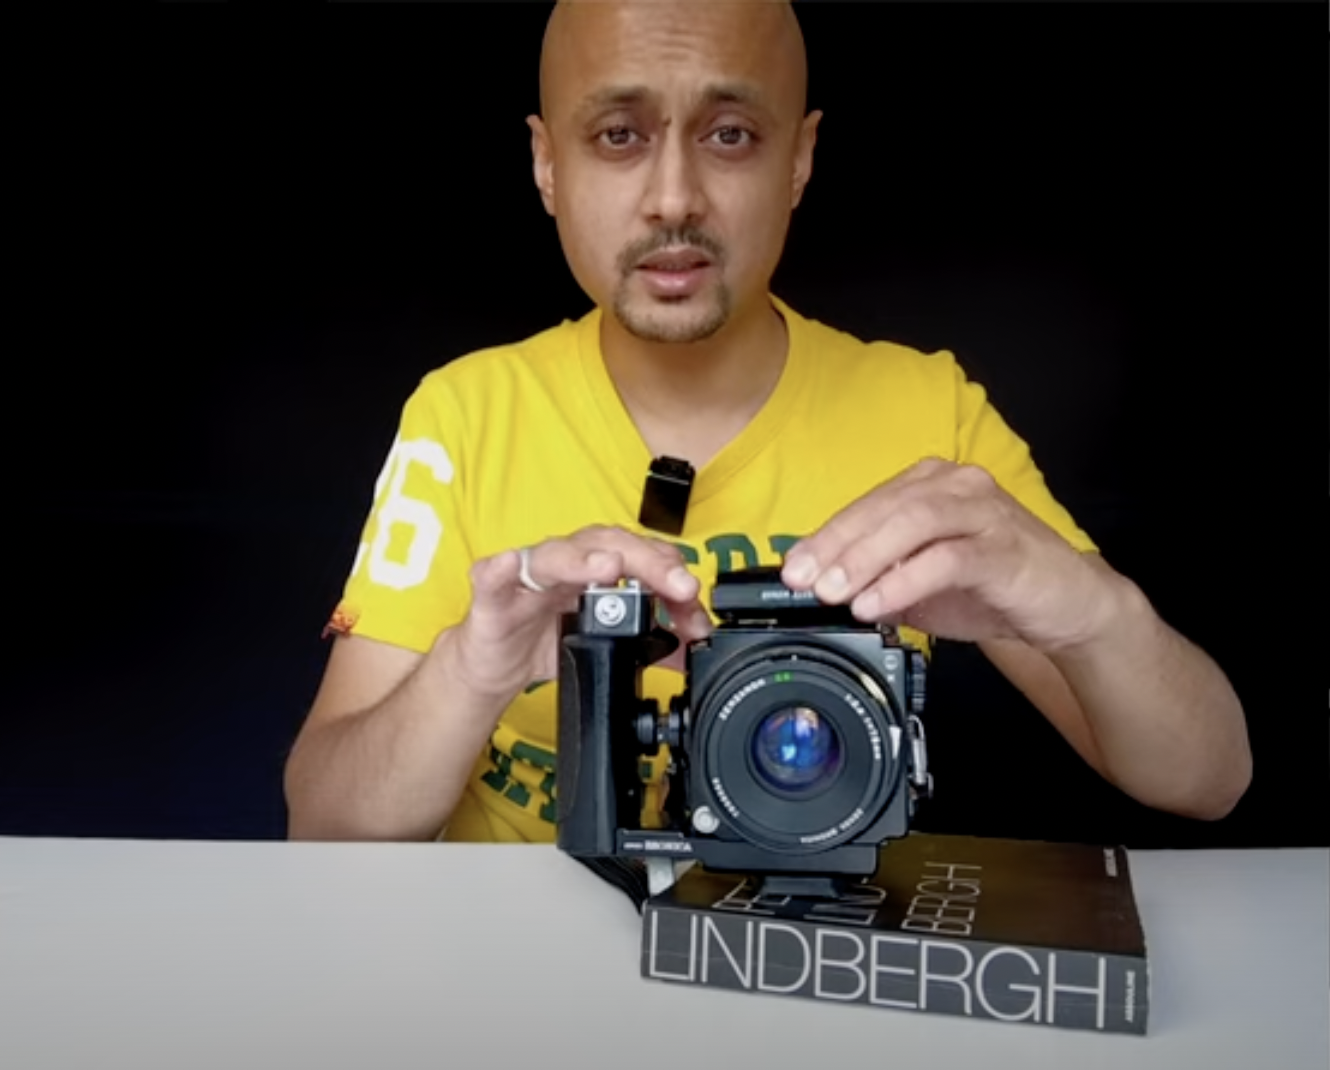
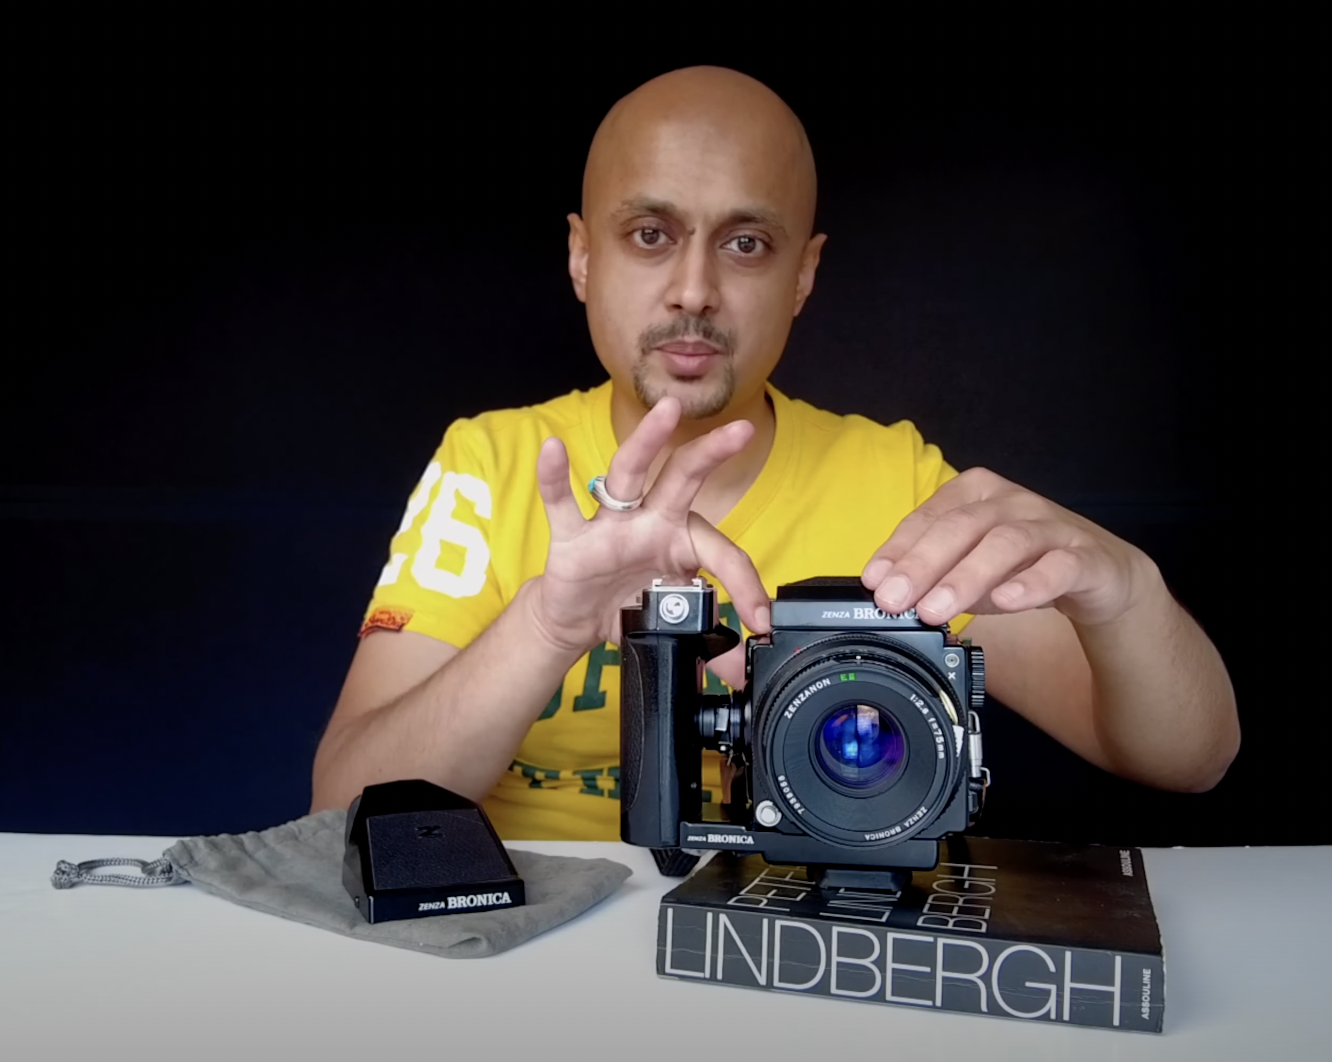
Understanding the Modular System
The great thing about the Zenza Bronica is it's a modular system as such you can change the lens, you can have a speed grip if you wish to do or if you don't you can leave it out. You can change between 35mm and Medium Format film backs. The options are varied. You can also change your view-finder too. Therefore if you wanted a prism view-finder at the top you can pop that on there as well.
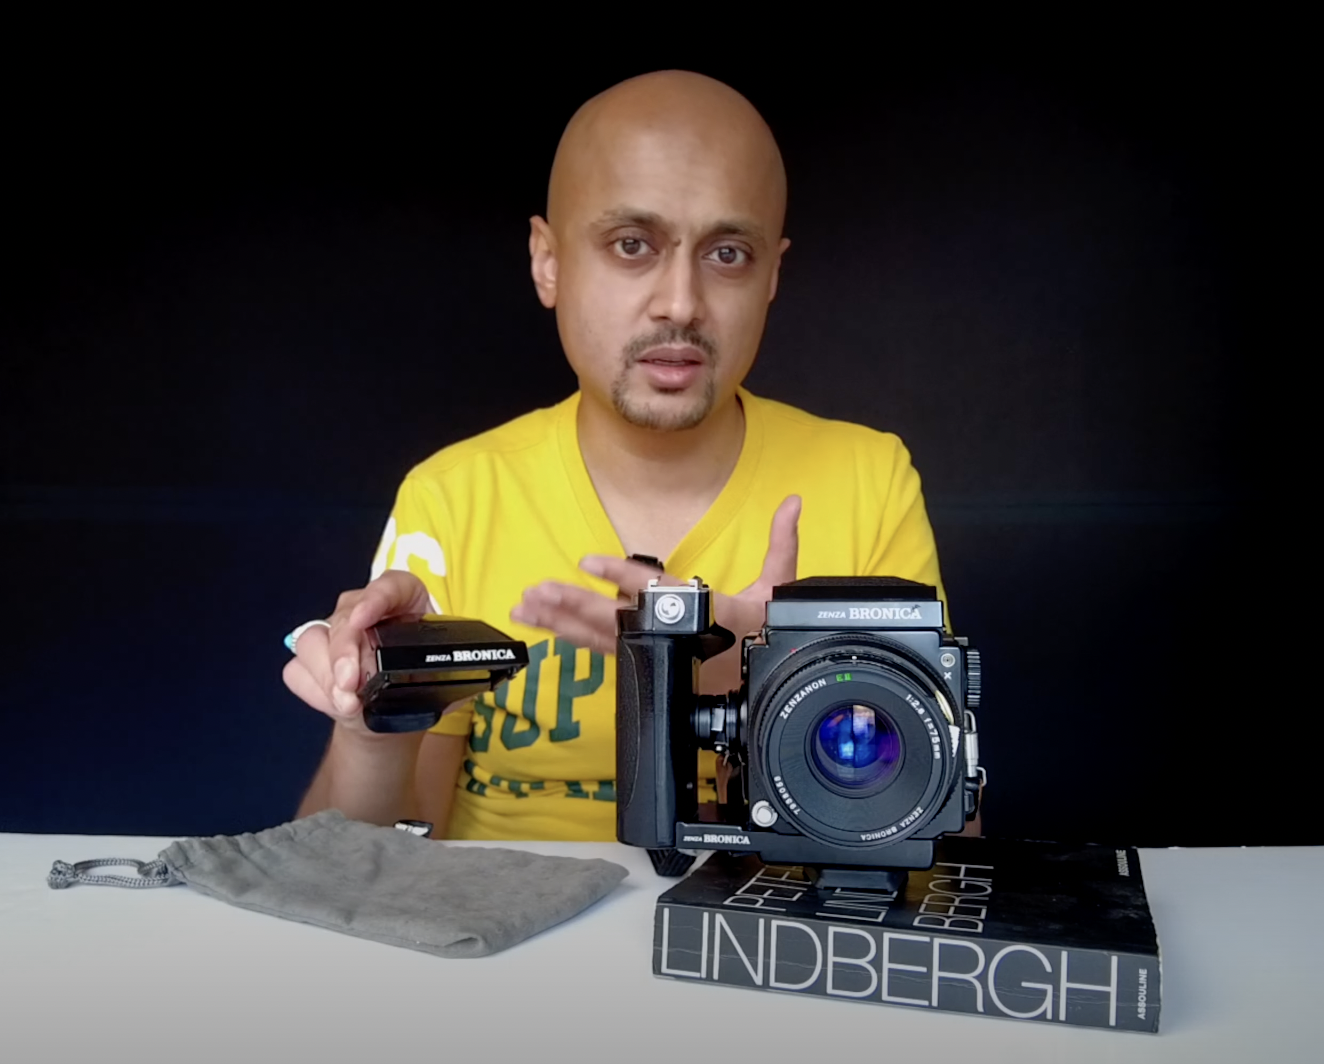
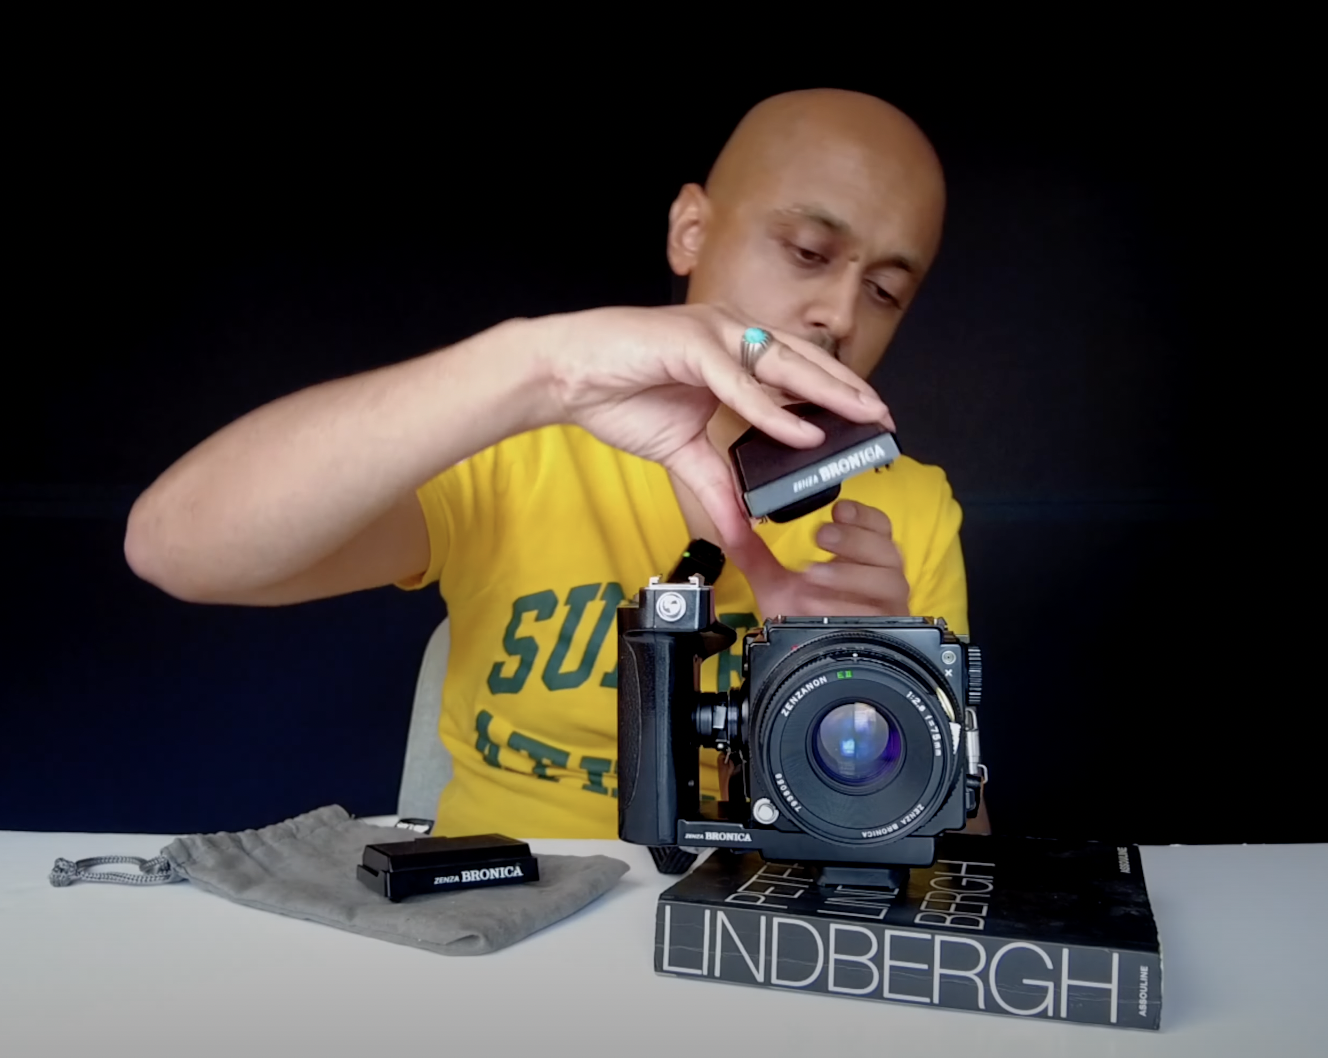
Adding a Speed Grip and Changing the Battery
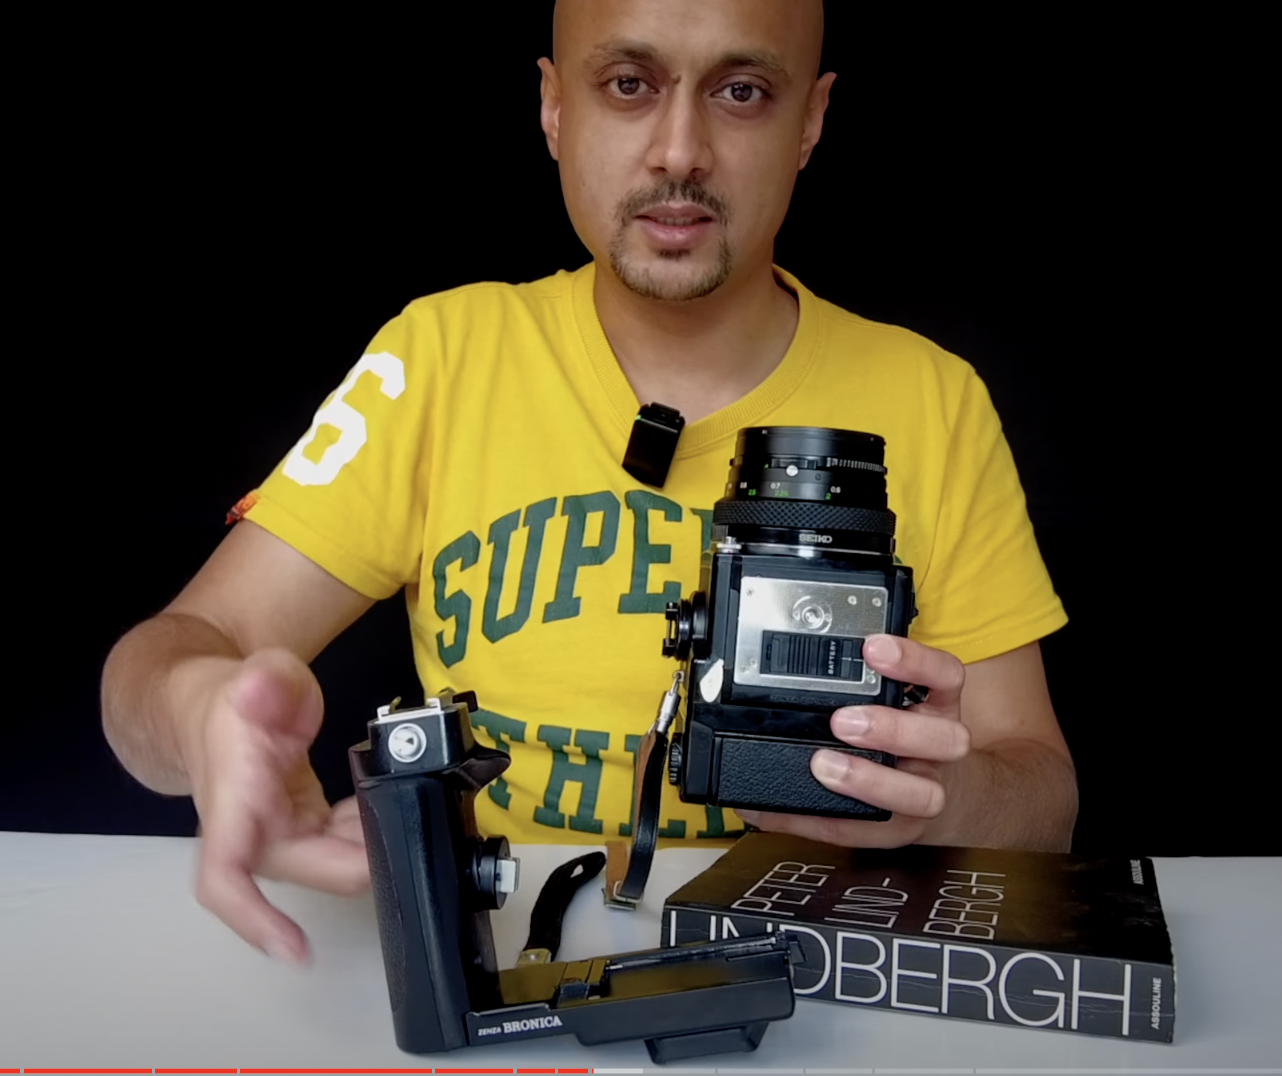
If you want to remove the handle grip all you have to do is rotate from C to O on the back, and then just simply gently lift this out from the right-hand side. There's a little tab just there and then pull this across and then you will have your speed grip separated.
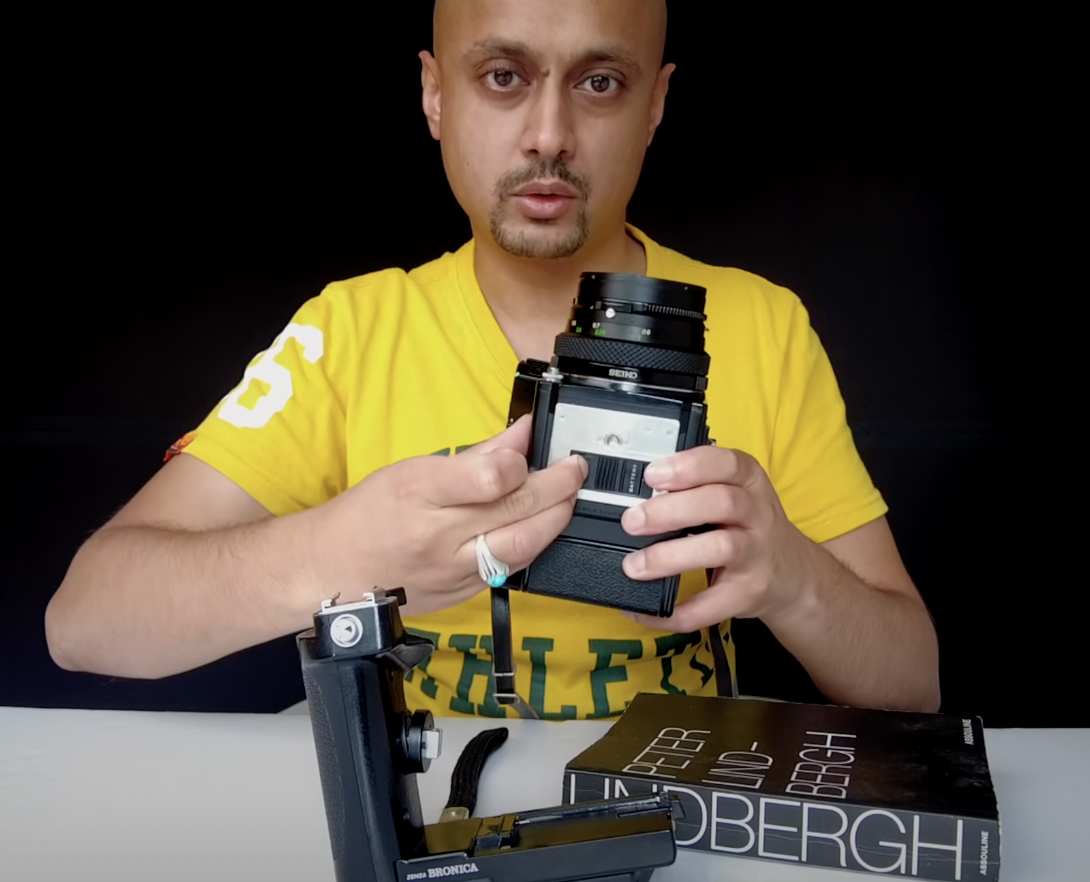
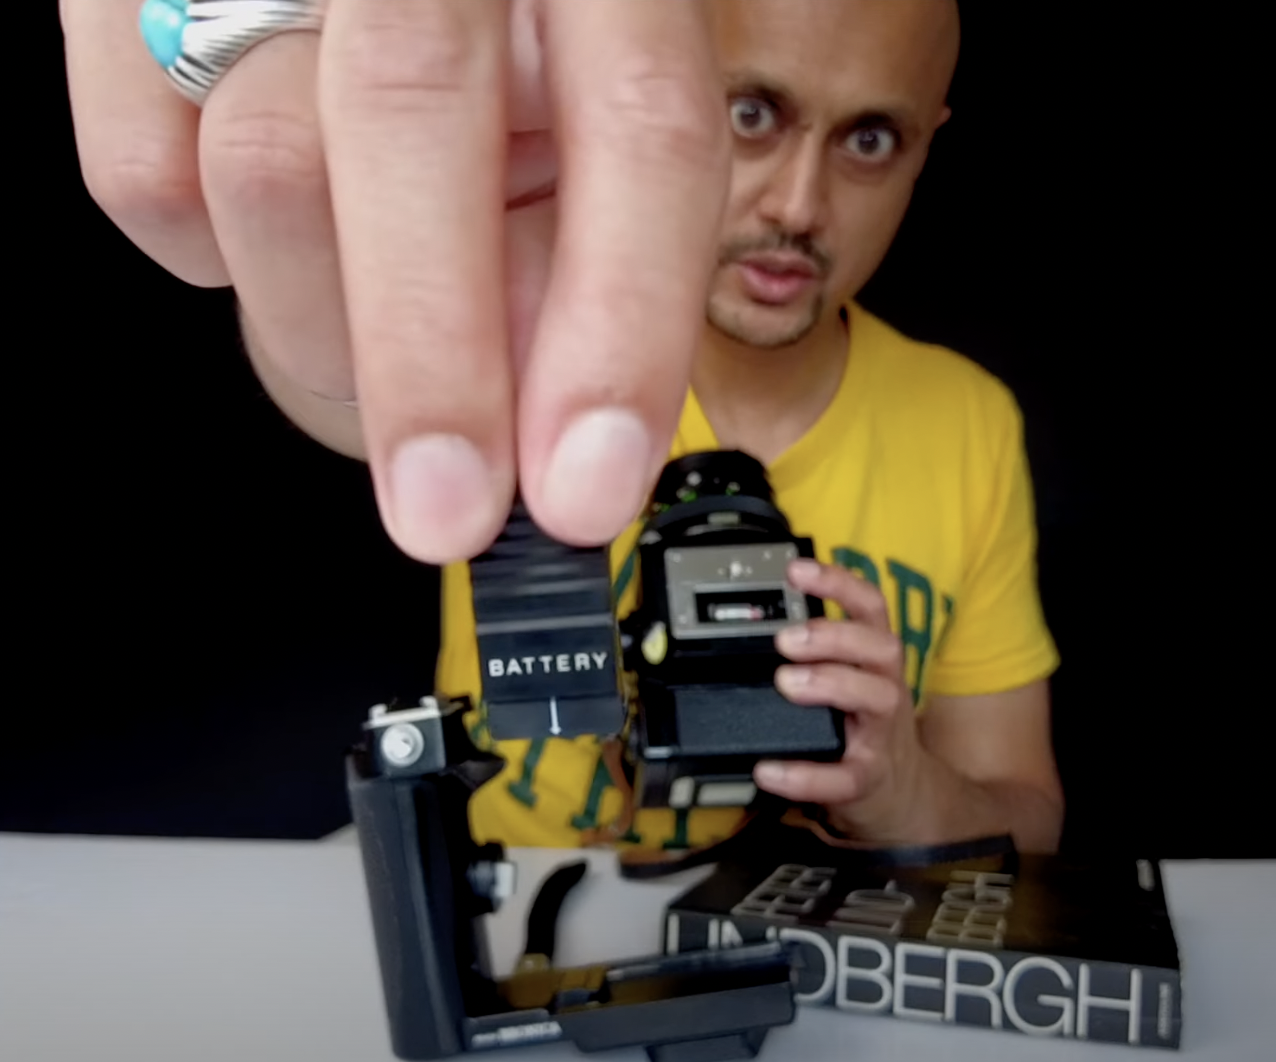
Of course at the bottom you also have the option of adding in a battery for the exposure. All you have to do here is pull the lever, push it down, pull it across and then it should open up. And then you have a little battery that you can pop in there. This is an A544 battery. This one's Energizer battery and it's still available online.
Go to Amazon or any other good electrical store. You should be able to find one. You can pop that back into your camera. Take your battery cover and it'll give you a little arrow as you can see at the top in, and then close the grip.
You'll know whether the battery is working or not because at the top of your camera there's a button you can press and when you press it, the red light in the middle will go on to tell you whether it is functional. That is something that you can add to it.
Do you need to have the battery in the Bronica Zenza ETRS for the camera to work? The answer is absolutely not!
The camera will function just as well without that in place. Make sure that you lock everything back in and then you'll be good to go to shoot your next frame.
How to do Long Exposures
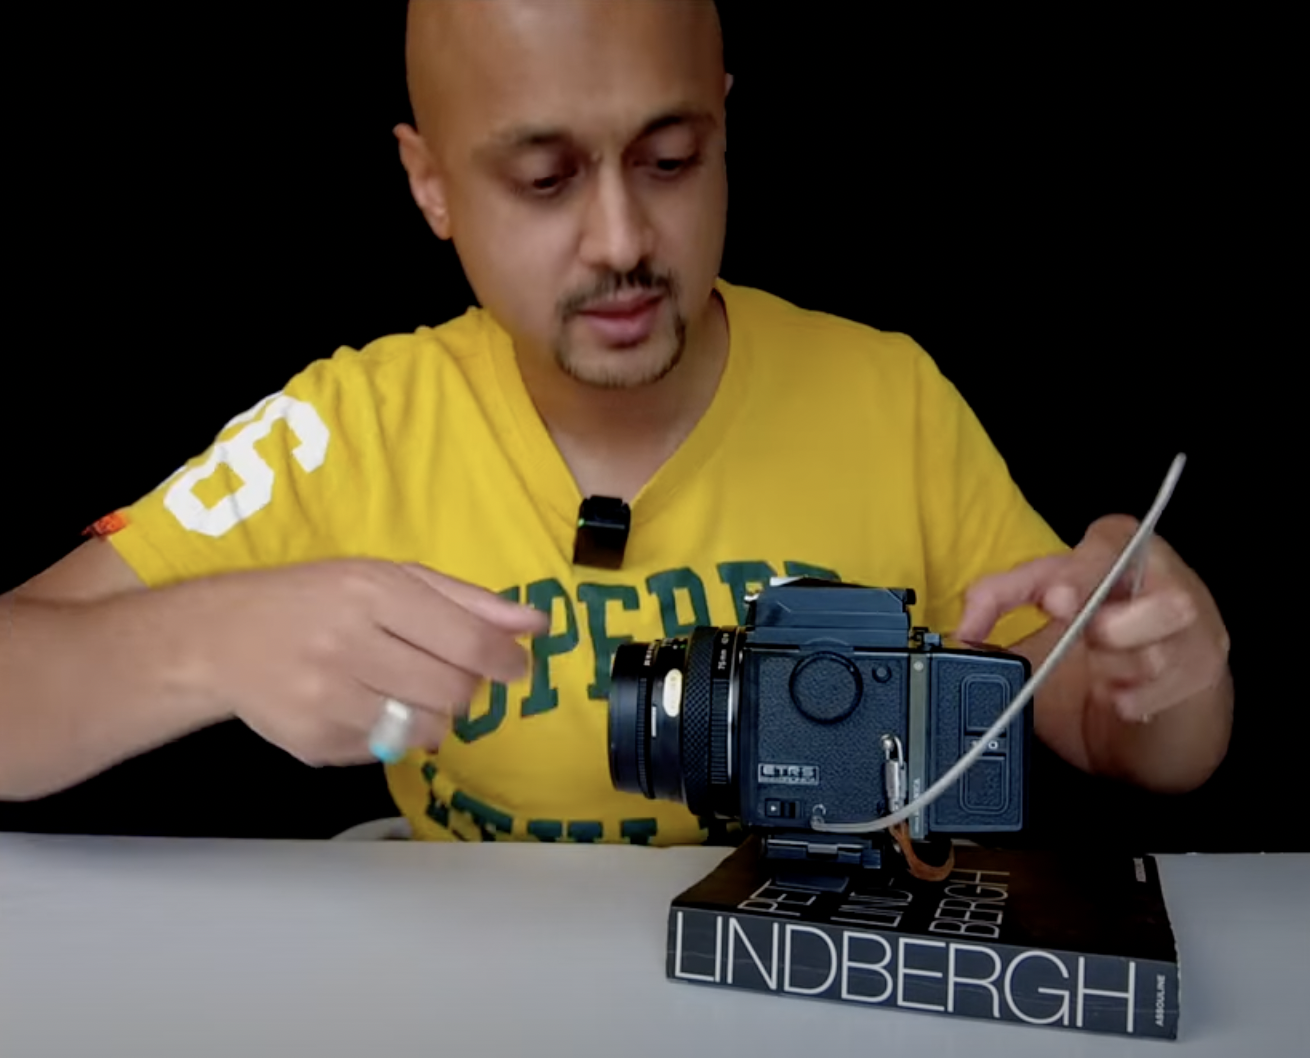
You might want to do a long exposure and for that you will need a cable release. The cable release mechanism is found on the right-hand side of the camera and you can see just this little nodule. If you don't have a cable release, then you might want to consider using the shutter lock function which can be found by rotating this dial.
How to do Multiple Exposures

Those of you who are a little bit more creative may want to do multiple exposures on this camera. It's a wonderful way to get creative and it's a simple way of doing this. All you have to do is on the right-hand side of the camera you have this lever and you just pull this lever down and then automatically now you can shoot as many frames on one frame as you wish.
In most cases you probably only want to do two shots. However, if you want to take it a bit further you can do 3, 4, 5, as many as you would like in this setting. Bear in mind that once you have taken the number of different exposures that you wish, just make sure that you pull this back up so that it goes back to signal mode again. That can be easily forgotten, therefore try to remember that next time you decide to go out and shoot multiple exposures.
The base unit alone doesn't come with a hot shoe, as such, if you're someone who enjoys to shoot with flash or shoots in a studio, then it would be highly recommended that you get a grip with a hot shoe on it.
Otherwise you're good to go and it could actually save you a lot in weight if that's something that matters to you. Holding it will be a lot easier. Also, if you're doing a lot of waist level photography then that might be a better option for you anyway. But if you do want a 35 mm sort of field because you're stepping up from 35 mm to medium format then this grip is actually a good one.
And it makes it very comfortable to hold a camera and also gives you straightaway the ability to shoot with ease. Changing to the next frame is also very easy too.
For this, you'd have to consider what kind of view-finder you use. For that there are a number of different options. If you want the full original analogue experience with medium format then stick with the waist level finder. However, some of us are a little bit stuck to our old ways and we want to shoot how we've shot before, maybe with the DSLR or even a 35 mm camera.
In which case you might want to consider getting a view-finder. These are available online at a modest cost and all you have to do is press this button here at the top, release this, the view-finder the waist level finder will come off.
Adding a Prism Finder
You can change your settings as you wish when shooting with this camera. For those of you who are reluctant to invest in a light metre, a dedicated light metre or perhaps you want everything to be available similar to a digital format feel then you can get additional view-finders which have those mechanisms in place.
The AE3 is also available if you remove your prism and is easily attachable. The AE3 prism comes with its exposure dials. You can change it to manual mode, aperture priority, shutter priority.
You can dial in the ISO rating on your film as well. It's the same process here. You just pop it on top and then it clicks in and then you're good to go. The only difference here is that everything is maintained within this metered prism.
If shooting with it, they can help you to make sure that you've got all your exposure dials correctly set. I have to say it comes with a caveat though. If you are a purist then you can avoid this option. The other more important downside is that at some point there could be some errors that happen within the prism itself or perhaps even stops working. They're very hard to find online. You may have to pay quite a lot to have it replaced. Therefore think about that option carefully.
You do have your other options such as the waist level finder, which I think is fabulous. This is simple. Doesn't cost a lot, simple to replace as well. Nothing technical involved in it.
If you want to have the 35 mm experience you can get just a view-finder you can look through it level on. The advantage of having either of these prism finders, one which is electronic, one which is analogue, is that you've got the full 35 mm experience. Therefore you can shoot landscapes or you can twist over and shoot portraits without any challenges. That's a lot more difficult to do with a waist level finder.
Should I Invest In the Bronica Zenza ETRS?

Bronica Zenza ETRS with 75mm Zenzanon Lens
Think carefully about what kind of things you're going to be shooting because that could have an influence on which view-finder system that you choose to go for. Overall, this is a great system to have.
If you're thinking about moving from 35 mm to medium format, there are many other options available which are going to be a lot more costly for you. The Mamiya 645 is available. You've got the PENTAX 645 that you can also shoot with and those are fantastic cameras in their own rights.
The Bronica is one that is forgotten. I'm not sure why, but the lenses are fantastic. Often you'll find the bodies in good shape and good nick. Because it's a mechanical body, if you choose not to obviously get an electronic view-finder you're going to find this will last you a long time. And what are interchangeable backs, you can get the 35 mm or medium format backs.
You'll be good to go and you'll be saving a lot of money for this particular system. There are obviously newer systems available for Bronica which came out in the early 2000s, the SQ ranges. However, if you're looking for something which is going to cost you maybe a few hundred pounds, getting a system such as this will be one that saves you quite a lot of money.
That is quite an important thing to mention because film prices are not cheap these days for the foreseeable future anyway. And if you're keen and you want to get into medium format photography there shouldn't be anything that should stop you from it.
You can invest in this knowing that you're going to take some wonderful pictures on it. I stand by it. The framing, the way that this camera is set up, it's solid, it's light, easy to carry. It's got fantastic lenses which I've said so many times already.
This is going to be a fantastic entry point into medium format photography. Shoot with it, add things to it as you go along as I have and you'll pick up these things on eBay from time to time. Find something which is a fantastic deal and then something that you can add to your camera to give you a little bit more flexibility.
The only one downside I would say about the Bronica is that it doesn't have a 6x6 film back which is a little bit tricky, especially if you want to shoot in that wonderful square format. You can't shoot 6x7 on this either, as such, you are limited to 6x4.5 and 35 mm shots.
I hope this blog/video has helped you make a decision on which camera is ideal and best for you!